

Kickstart Your Christmas Lights Installation Business
with Our All-Inclusive Premium Starter Kits
C9 Christmas Lights Starter Packs 12" Spacing

C9 100' 12" Spacing Starter Pack

C9 500' 12" Spacing Starter Pack
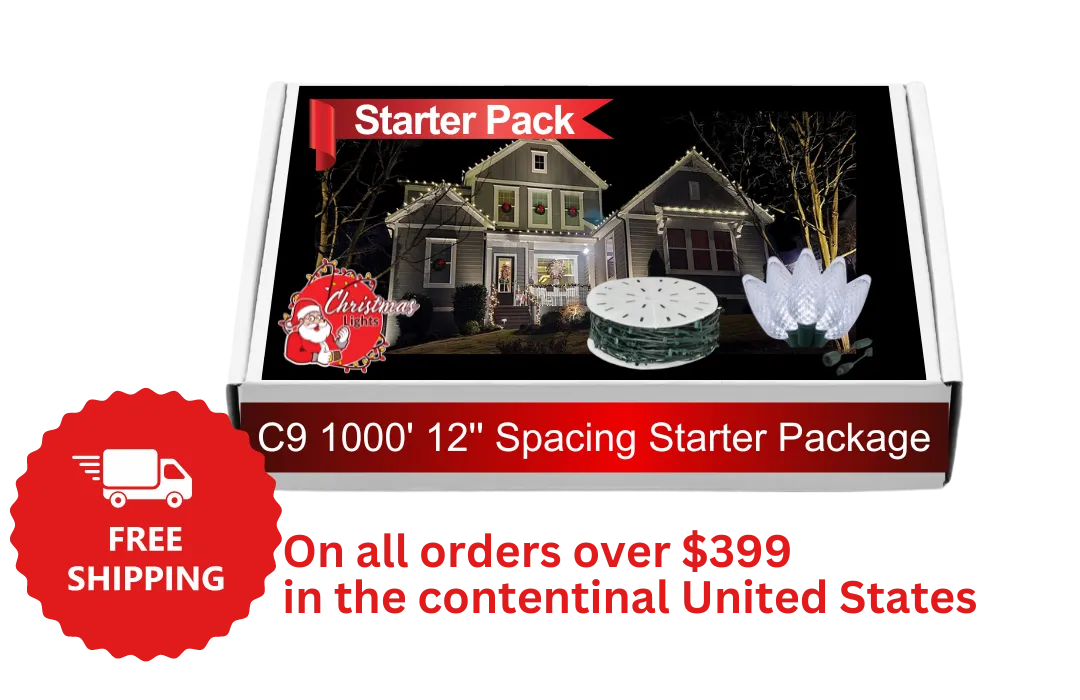
C9 1000' 12" Spacing Starter PacK

C9 2,000' 12" Spacing Starter Pack

Christmas Light Business Starter Pack
with FREE Training
C9 4,000' 12" Spacing Starter Pack
C9 Christmas Lights Starter Packs 15" Spacing

C9 500' 15" Spacing Starter Pack

C9 1000' 15" Spacing Starter Pack
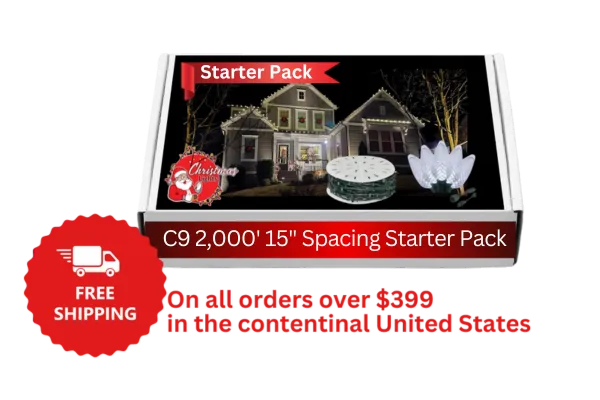
C9 2,000' 15" Spacing Starter Pack

Christmas Light Business Starter Pack
with FREE Training
C9 4,000' 15" Spacing Starter Pack
C7 Christmas Lights Starter Packs 12" Spacing
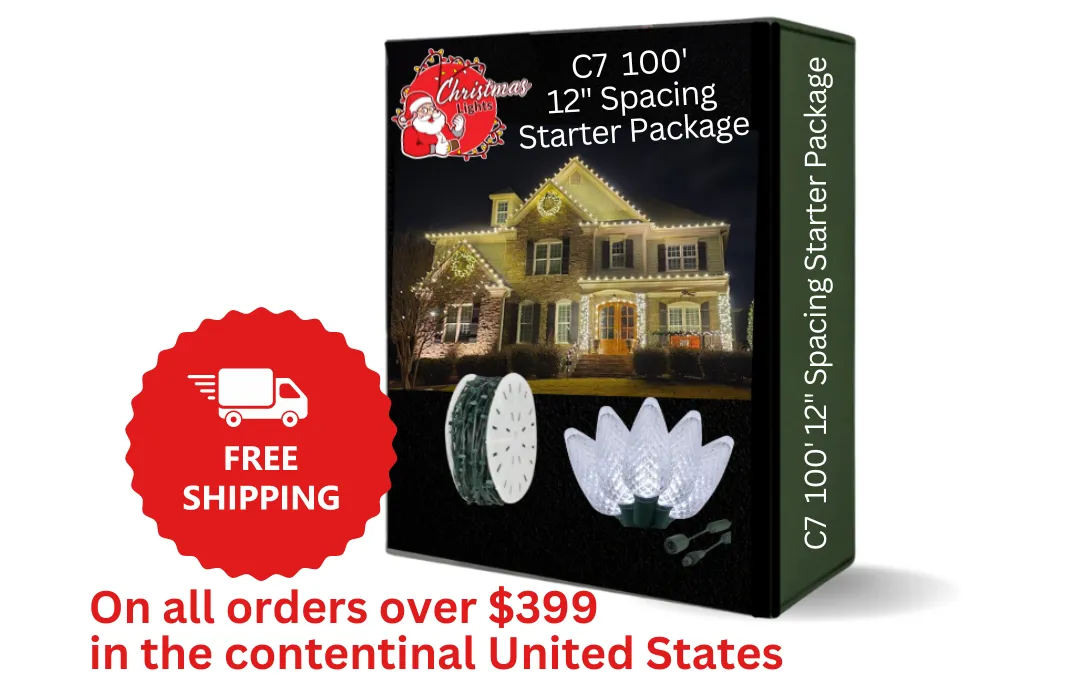
C7 100' 12" Spacing Starter Pack

C7 1000' 12" Spacing Starter Pack

Frequently Asked Questions
What is included in the Christmas Lights starter pack?
The Christmas Lights starter pack is a comprehensive kit that provides everything you need to get started with your holiday lighting project. It includes all the necessary components, such as clips, male and female plugs, and an extra extension cord.
What specific items are included in the 1000 foot 15" C9 Christmas Lights starter pack?
The 1000 foot starter pack C9 15' spacing package includes the following items:
800 C9 LED Bulbs: These energy-efficient bulbs are the main component of your lighting display, providing bright and vibrant illumination.
800 Tuff Clips: These clips are designed to securely attach your light strings to various surfaces, ensuring a stable and professional-looking installation.
1000' Green 15" Spacing Socket Spool: This spool contains 1000 feet of green wire with sockets spaced every 15 inches, allowing for even distribution of your C9 bulbs.
250' Green Lamp Cord: This additional lamp cord provides extra length for your lighting setup, enabling you to cover larger areas or create extended displays.
50 Green Male Plugs: These plugs are used to connect your light strings to power sources or to join multiple strings together.
50 Green Female Plugs: These plugs are used to create a seamless connection between your light strings, allowing for a continuous and uninterrupted display.

How many houses can I typically light up with a single 1000 foot starter pack?
On average, a 1000 foot starter pack is sufficient to light up approximately 5 to 6 houses, depending on the size and layout of each property.
This estimation is based on the standard components included in the starter pack, such as the 800 C9 LED bulbs and the 1000 feet of socket spool.Headline
However, it's important to keep in mind that every project is unique, and the actual number of houses you can illuminate with a single starter pack may vary.
Factors such as the complexity of the designs, the distance between installation points, and the specific requirements of each client can all impact the coverage of the starter pack.
To ensure a smooth installation process and to accommodate any additional wiring needs, it's always a good idea to have some extra lamp cord on hand for extension purposes.
You may also want to stock up on extra female plugs to facilitate connections between multiple strands of lights or to create custom lengths as needed.
By being prepared with these additional components, you can easily adapt to the specific demands of each project and ensure that you have the flexibility to create stunning and professional-looking lighting displays, regardless of the number of houses you're working on.

Discover Expert Tips on Our Blog
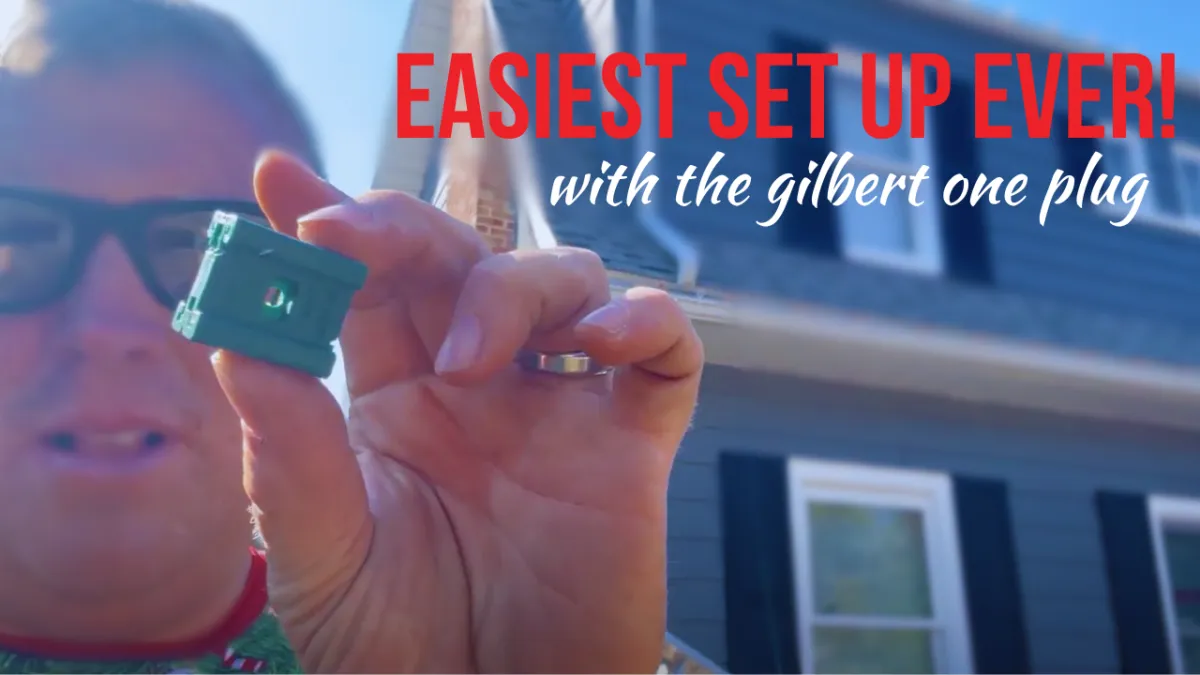
Gilbert One Plug: The Key to Easy Christmas Lights Setup
With the holiday season around the corner, setting up Christmas lights can add a festive touch to any home. However, the process can often be tricky, especially when it comes to managing extensive wiring and ensuring everything looks perfect and operates safely. An invaluable tool in achieving a seamless setup is the all-in-one clip. This blog post will guide you through the efficient use of all-in-one clips, ensuring your holiday lights are not only beautiful but also secure and safely installed.
What You Need
Before you begin, it's important to gather all necessary materials to ensure a smooth installation process:
- All-in-one clips: Suitable for your specific type of lights.
- Power cords: Length depending on your installation area.
- Wire cutters: For adjusting the lengths and fitting of wires.
- Measuring tape: To precisely measure distances between lights.
- Ladder: To reach higher installation points safely.
Choosing high-quality brands for clips and lights can make a significant difference in the durability and ease of your installation.

Step-by-Step Installation Guide
Step 1: Preparing the Power Source
Start by planning the route of your power cord from your power source to the area where you wish to begin your light installation. Lay out the power cord along this path, securing it with temporary fasteners if necessary to prevent any movement as you work.
Step 2: Positioning the All-In-One Clip
The all-in-one clip is designed for easy use. To prepare, simply slide off the two pieces of the clip, ready to attach it to the wire. When choosing where to place your clip, avoid areas directly beneath gutters where water collects; instead, position it slightly off to one side to prevent water damage.
Step 3: Attaching the Clip to the Power Cord
Attach the clip to your power cord by sliding the base of the clip around the wire, making sure it’s snug and secure. If your clip has a cap, now is the time to slide it on. Ensure the clip is positioned in such a way that it can evenly distribute power to both ends of your light string.
Step 4: Securing the Installation
Once the clip is attached, double-check that everything is held firmly in place. Adjust the position if necessary to ensure the clip and the lights are well-supported. This will prevent sagging and reduce the risk of damage from wind or adverse weather conditions.

Troubleshooting Common Issues
While using all-in-one clips generally simplifies the installation process, issues can still arise:
- Clips slipping: Ensure the surface of the cord and the clip are clean and dry before attachment.
- Uneven lighting: Check that the power distribution through the clip is balanced to avoid dim sections.
Maintenance Tips
To keep your Christmas lights shining brightly all season long, perform regular checks to ensure all clips and lights are securely attached and functioning. After the holidays, carefully remove the clips to prevent damage to both the clips and your lights, storing them in a cool, dry place until next year.

1. What are all-in-one clips?
- Answer: All-in-one clips are versatile tools designed to hold Christmas lights securely on various surfaces like gutters, shingles, or siding without the need for nails or screws. They are engineered to make the installation of holiday lights faster, easier, and safer.
2. Why should I use all-in-one clips instead of traditional methods?
- Answer: All-in-one clips provide a uniform appearance to your light display, ensure that lights are securely attached, and minimize damage to your home’s exterior that can be caused by nails or staples. They also allow for quick installation and easy removal.
3. Can all-in-one clips be reused?
- Answer: Yes, all-in-one clips are designed to be durable and reusable. After the holiday season, simply remove them carefully and store them in a cool, dry place. Inspect each clip before reuse to ensure it hasn’t been damaged and is still capable of securely holding your lights.
4. How do I choose the right all-in-one clip for my Christmas lights?
- Answer: Selecting the right clip depends on the type of lights you have and where you plan to install them. Make sure the clip matches the size and shape of your lights and is suitable for the surface you will be attaching it to (e.g., gutter, shingle, or siding).
5. What should I do if my lights start sagging or the clips begin to slip?
- Answer: Ensure that the surface of the cord and clip are clean and dry before attaching them. If slipping occurs, reposition the clip to a more stable part of the cord or replace it if it appears worn out. Regular maintenance checks can help prevent these issues.
These FAQs can assist readers in understanding and troubleshooting common concerns they might encounter while using all-in-one clips for setting up their holiday lights.

Copyright ©2026 All Right Reserved website designed by christmaslights.io
Terms of Service / Privacy Policy
Have questions or need assistance?
Contact us at (855)619-LITE