Durable Light Stakes for Secure and
Professional Holiday Displays"
Ensure your holiday lights stay perfectly in place with our high-quality light stakes. Designed for durability and ease of use, these stakes provide a secure foundation for your outdoor Christmas displays, keeping your C7 and C9 lights neatly aligned and elevated. Whether you're a professional installer or a DIY enthusiast, our light stakes offer a reliable and long-lasting solution to enhance the beauty of your festive décor.
Light Stakes
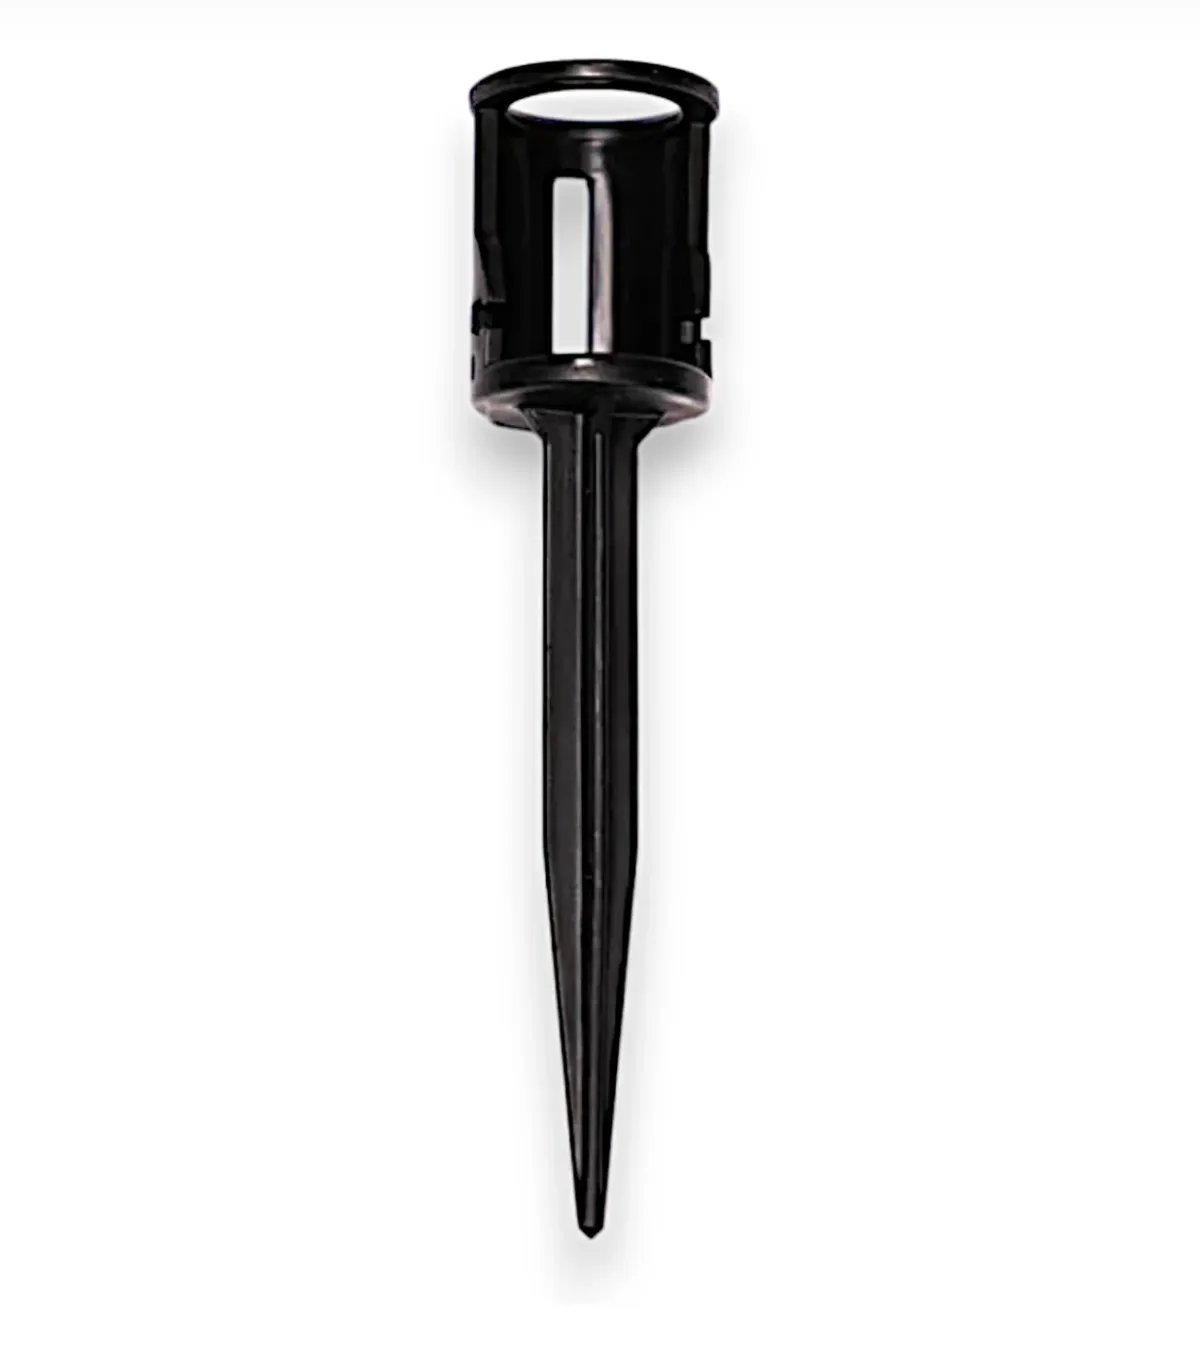
C9/C7 Best Enclosed 5" Light Stake
Keep your outdoor Christmas lights securely in place with the C9/C7 Best Enclosed 5" Light Stake (Patent Pending). These stakes feature a unique enclosed design that firmly holds your C9 and C7 lights, ensuring they stay in place throughout the holiday season. Made from durable plastic, these stakes are designed to endure outdoor elements and can be reused year after year, making them a top choice for both professional and DIY decorators.
Key Features:
- Enclosed Design for Secure Hold: The enclosed design keeps your C9 and C7 bulbs securely fastened, preventing them from slipping out, even in challenging weather.
- Durable Plastic Construction: Crafted from high-quality plastic, these stakes are built to withstand harsh outdoor conditions, ensuring they last through multiple seasons.
- Reusable Year After Year: Designed for longevity, these stakes can be reused season after season, providing a cost-effective solution for your outdoor holiday displays.
- 5" Height: The 5" height is ideal for elevating your lights and keeping them neatly aligned along pathways, driveways, or garden beds for a clean, professional appearance.
- Patent Pending Design: With a patent-pending design, these stakes offer an innovative and effective solution for securing your C9 and C7 holiday lights.
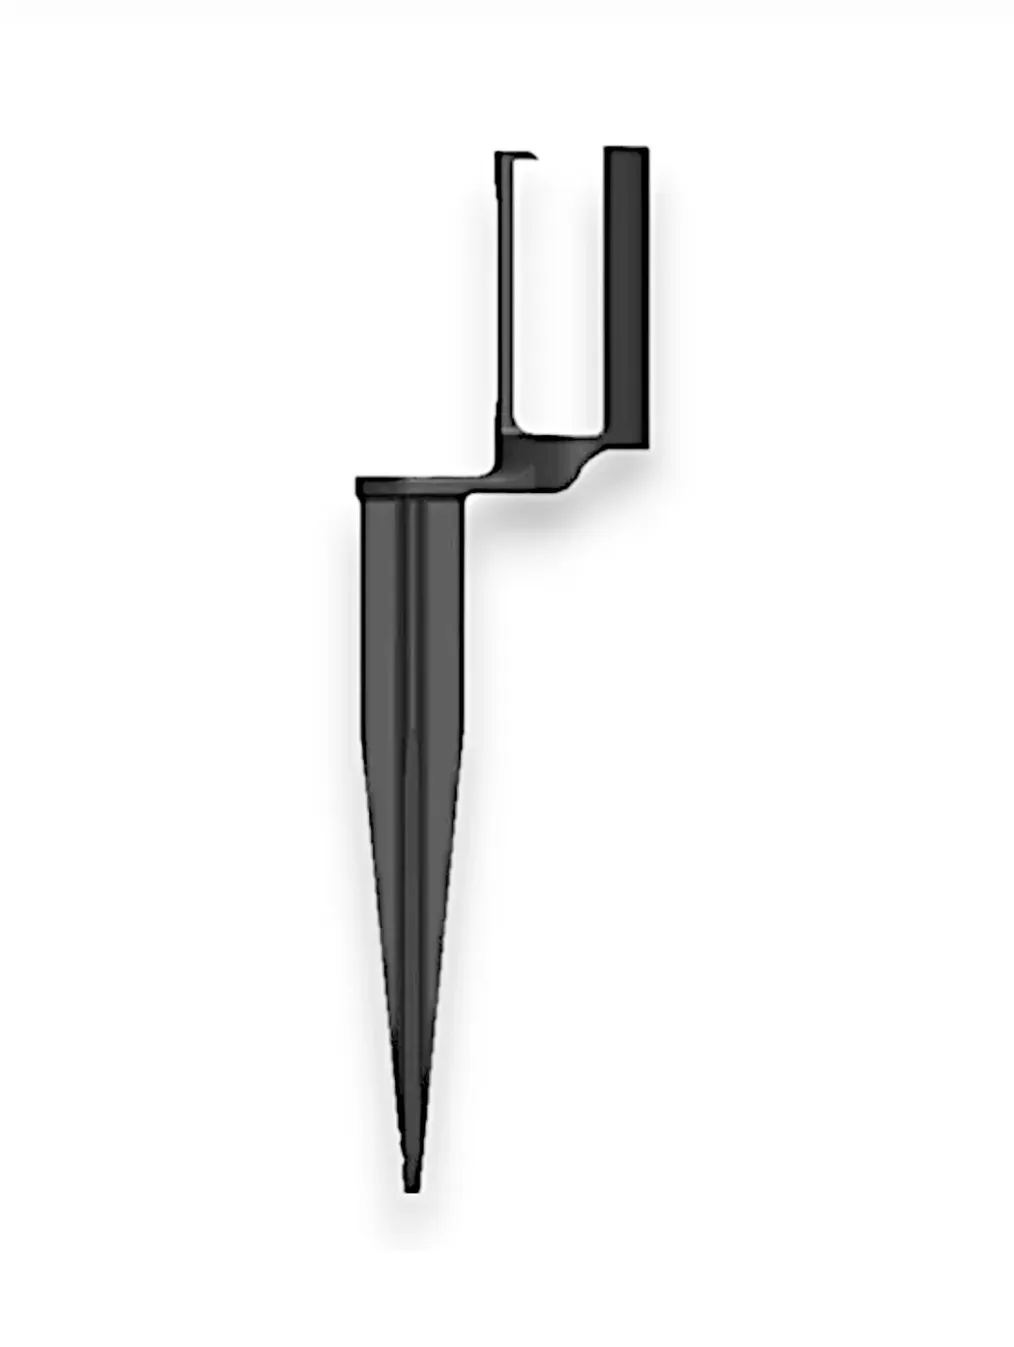
Canny Systems Light Stake
The offset design of the Canny Systems Light Stake makes it easy to use a hammer on tougher ground. Available in 5", 7.5" and 11".
Features:
- 3-Prong Light Holders: Securely grip the light at the top of the socket for a more stable hold.
- Straight Alignment: Ensures your lights stay pointed straight up.
- Cord Protection: Prevents damage or strain on the socket cord.
- Quick Installation and Removal: Fast and easy install and removal
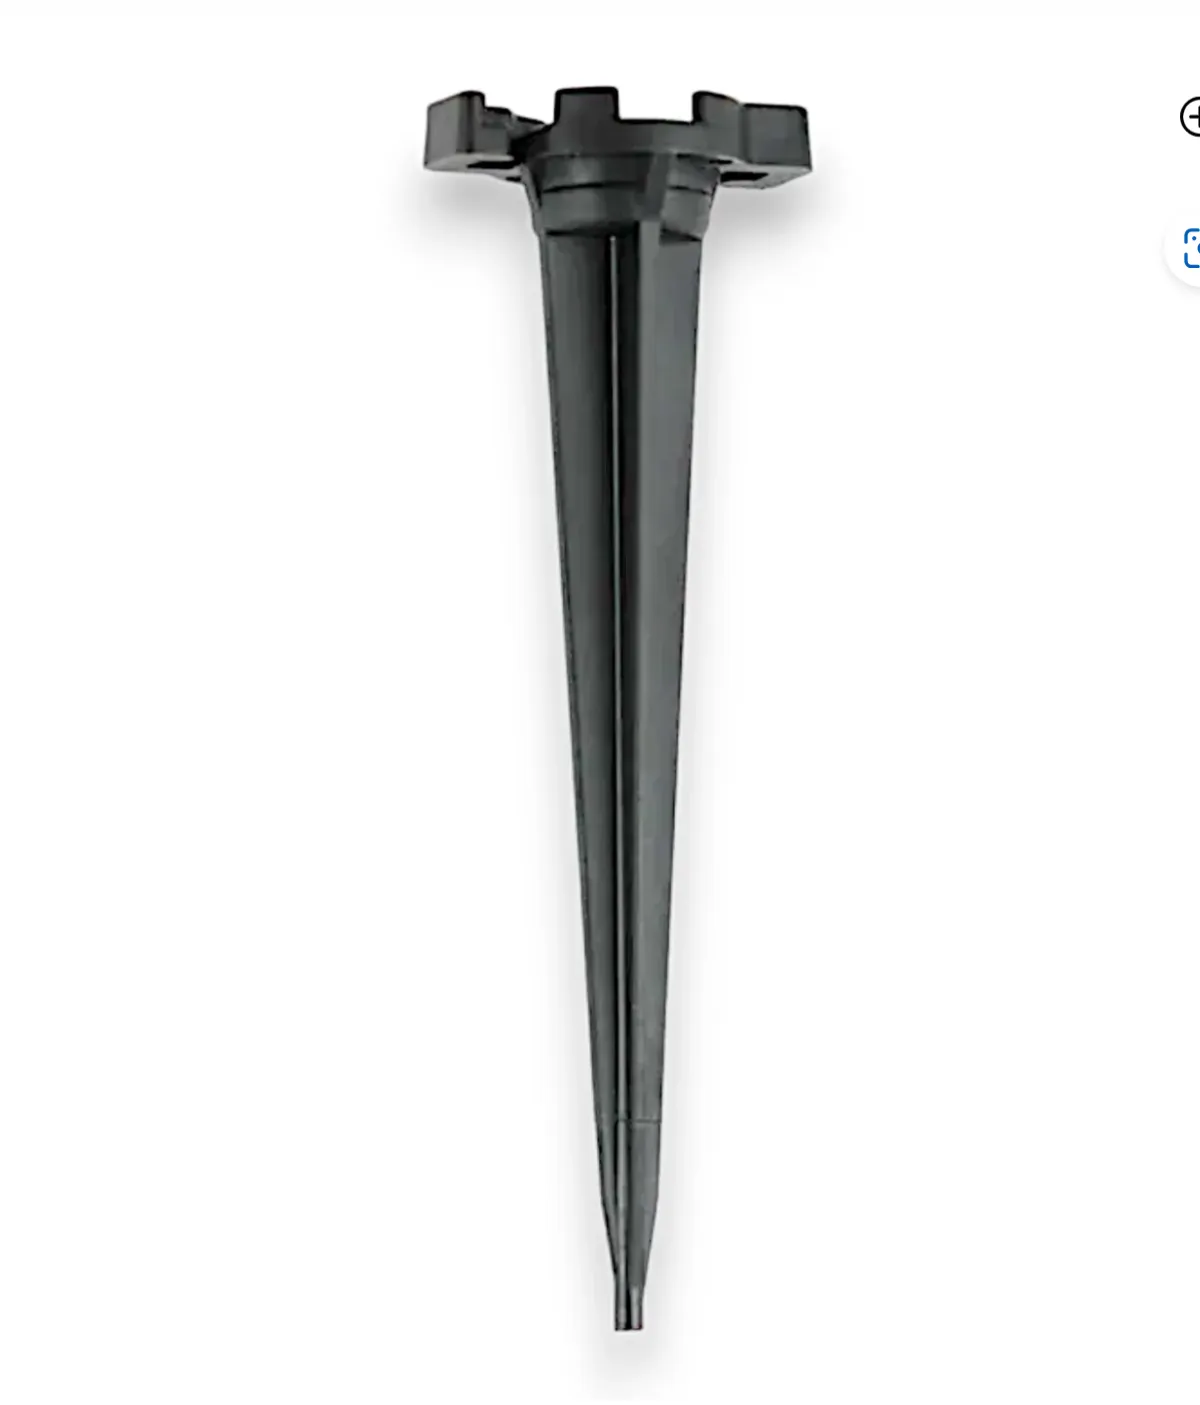
Universal 4.5" Light Stake
This 4.5" stake features a sharp point and rugged construction, making it easy to hammer into the ground if needed. It's perfect for neatly displaying lights throughout your landscape, creating a festive holiday atmosphere. Specifically designed to work best with standard C7 and C9 sockets.
Features:
- 4.5" Universal Light Stakes: Suitable for both C7 and C9 lights.
- Versatile Christmas Light Accessory: Ideal for outlining driveways, pathways, and yard edges along sidewalks with lights.
- Complete Your Display: These stakes help create a cohesive and polished look by extending your Christmas light display from the house down to the ground level.
Frequently Asked Questions
What types of lights do these stakes support?
Our light stakes are designed to securely hold C7 and C9 bulbs, providing a stable foundation for your holiday light displays.
Can these stakes be reused year after year?
Yes, our light stakes are made from durable plastic, allowing them to withstand harsh outdoor conditions and be reused season after season.
How easy is it to install and remove the light stakes?
Our light stakes feature an offset design that allows for quick and easy installation, even in hard ground. Removal is equally simple, making setup and takedown a breeze.
Will these stakes damage my light cords?
No, our stakes are designed to grip the light bulbs securely without putting any strain or causing damage to the socket cords.
Are there different sizes available?
Yes, our light stakes come in various sizes, including 5", 7.5", and 11", to accommodate different needs and ensure your lights are displayed at the perfect height.
Discover Expert Tips on Our Blog
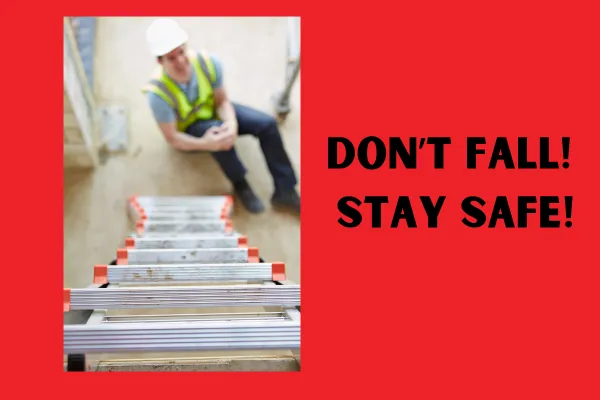
The Most Dangerous Christmas Light Install Mistakes
In the pressure washing and Christmas light installation industry, safety isn't just a buzzword—it's a matter of life and death. As someone who has witnessed numerous accidents and their aftermath, I want to address the critical importance of safety practices in our industry. Recent incidents, including several falls and tragic accidents, have highlighted the urgent need for better safety awareness and implementation.
The Real Cost of Cutting Corners
Let's talk numbers: A back surgery can cost upwards of $180,000 for the first procedure alone, with follow-up surgeries potentially reaching $260,000. But the real cost isn't just financial—it's the impact on your life, your family, and your ability to work. As the saying goes, "Falling won't kill you, but that sudden stop will." This harsh reality is why we need to take safety seriously, whether we're working one story up or three.
Essential Safety Equipment
Ladder Safety
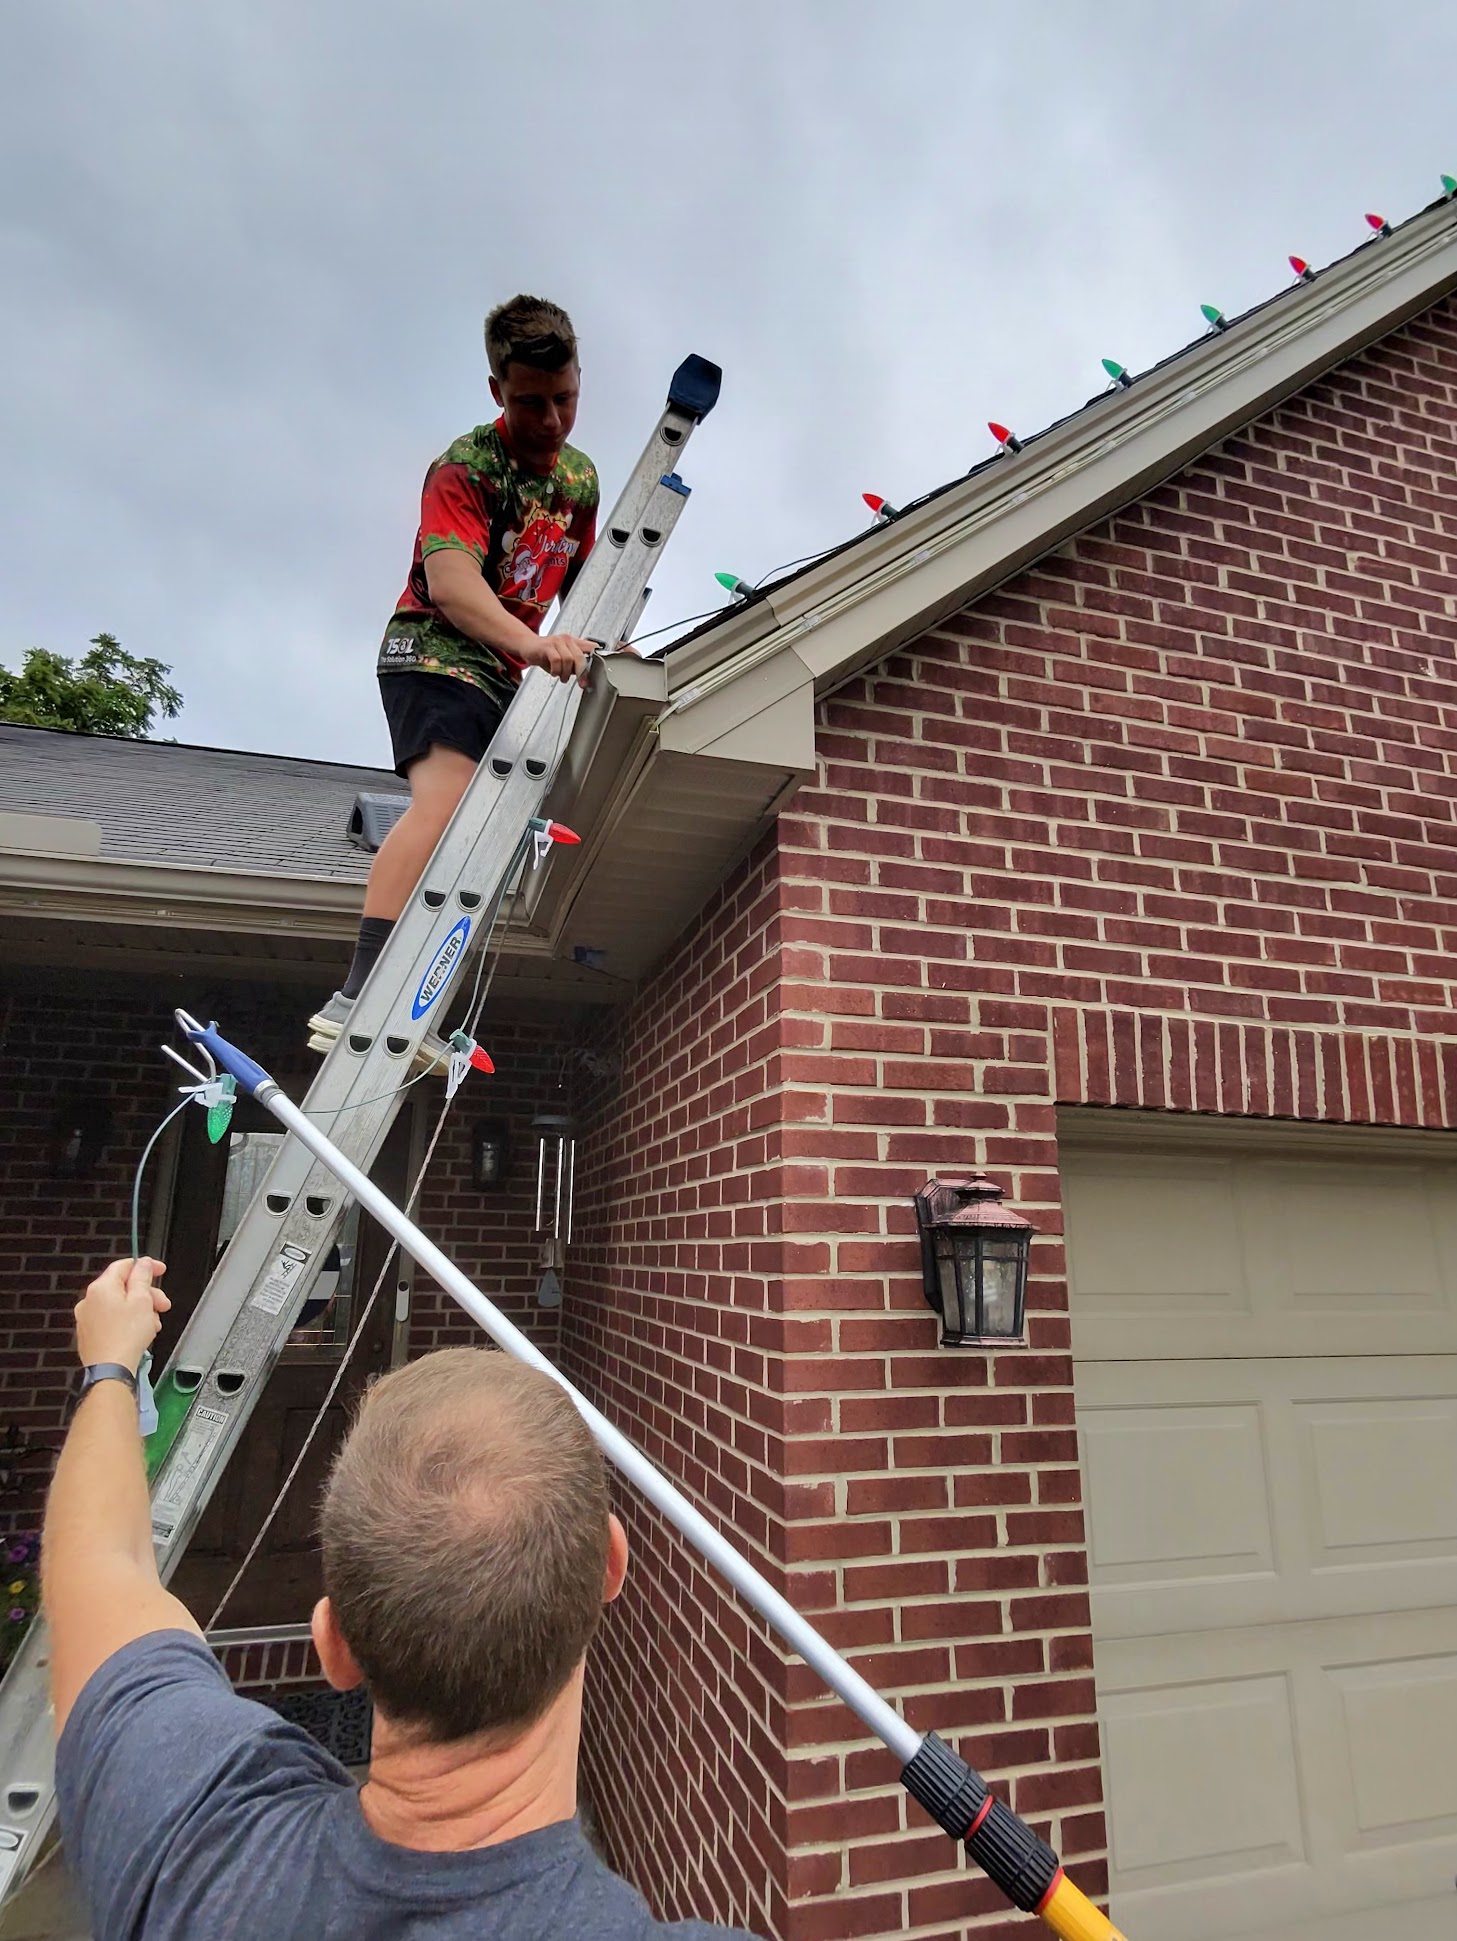
1. Ladder Stabilizers: These aren't optional extras—they're essential safety equipment. A ladder standoff or stabilizer can prevent the ladder from kicking out, one of the most common causes of falls.
2. Proper Angle and Positioning:
- Maintain a 75-degree angle (the optimal ladder angle)
- Extend three rungs above the roof
- Ensure the ladder is on level ground
- Use ladder leg adjusters for uneven surfaces
3. Three Points of Contact: Always maintain three points of contact when climbing—this means two hands and one foot, or two feet and one hand should be in contact with the ladder at all times.
Roof Safety
1. Pitch Hoppers: While useful, these can give a false sense of security. Remember: you're either all on or all off—never straddle or partially use these tools.
2. Harness Systems:
- Basic harness kit ($100-150)
- Goat Assist ($500-600)
- Ridge Pro ($600)
- Professional rope systems
3. Cougar Paws: Specialized footwear for better roof traction.
Electrical Safety in Christmas Light Installation
Electrical safety is just as crucial as fall protection. Here are key guidelines:
1. One Male End Rule: Only one male plug per line—you can have multiple female connections, but never multiple male ends.
2. Proper Connection Protection:
- Use female ends at termination points
- Position connections to allow water drainage
- Avoid using tape on connections as it can trap water
- Use clips to secure connections away from gutters
3. Power Management:
- Use remote controls for testing
- Always cut wires with power off
- Test installations systematically to avoid multiple trips
Best Practices for Working at Height
Before You Start
1. Look Up: Always check for power lines before setting up ladders or equipment.
2. Sound the Roof: Check for weak spots or rotted areas before walking on any roof.
3. Have a Fall Plan: Know where you could catch yourself or what you might grab if you start to fall.
During Work
1. Never Work Alone: Always have someone who can call 911 if needed. A real-life example: a pressure washer fell from a 6-foot deck, broke his back, and had to crawl to his truck to call for help because he was working alone.
2. Keep Your Phone on You: Carry your cell phone in a secure pocket while working.
3. Weather Awareness: Avoid roof work in wet, icy, or frosty conditions. Even morning dew can make surfaces dangerously slick.
Training and Certification
Investment in safety training is far less expensive than hospital bills or funeral costs. Consider:
1. OSHA 10 Certification: Especially important for rope and harness work.
2. Professional Safety Courses: Many companies offer specialized training for roof work and fall protection.
3. Regular Safety Meetings: If you have employees, document safety training and have workers sign off on procedures.
Special Considerations
Weather Conditions
- Never work on icy or frost-covered roofs
- Be aware that morning dew can create slippery conditions
- Wind can make ladder work particularly dangerous
Employee Safety
Remember that employees often try to exceed what they see you do—if you work unsafely, they may take even bigger risks. Set a good example by always following safety protocols, even for quick tasks.
Equipment Maintenance
- Regularly inspect all safety equipment
- Replace any worn or damaged items immediately
- Keep ladders clean and in good condition
- Check electrical equipment for wear or damage
Common Mistakes to Avoid
1. Overconfidence: Many accidents happen to experienced workers who become too comfortable with risks.
2. Rushing: Never compromise safety to complete a job faster or to squeeze in one more task.
3. Inadequate Equipment: Don't try to make do with improper tools or worn-out safety gear.
4. Working Alone: Always have a spotter for ladder work and someone available to call for help if needed.

The Business Case for Safety
While safety equipment and proper training represent an investment, consider the alternatives:
- Hospital bills ranging from tens to hundreds of thousands of dollars
- Lost work time and income
- Potential business closure due to injury
- Legal liability and increased insurance costs
Moving Forward: Building a Culture of Safety
As our industry continues to grow, with more people entering both pressure washing and Christmas light installation businesses, it's crucial to establish and maintain a strong safety culture. This means:
1. Regular Training: Invest in ongoing safety education for yourself and your team.
2. Proper Equipment: Budget for and maintain quality safety gear.
3. Clear Procedures: Establish and document safety protocols for all aspects of your work.
4. Zero Tolerance: Never compromise on safety for convenience or profit.
Remember, no job is worth risking your life or long-term health. The few extra minutes it takes to set up proper safety equipment, or the additional cost of quality safety gear, is insignificant compared to the potential consequences of an accident. As we continue to see accidents in our industry, let's commit to making safety our top priority and looking out for one another. After all, the best job is one that you can walk away from at the end of the day.
Whether you're new to the industry or a seasoned professional, take this message to heart: Safety isn't just about following rules—it's about going home to your family every night. Make the commitment to safety today, because tomorrow might be too late.

What is the correct angle for positioning a ladder?
A: The optimal ladder angle is 75 degrees. A good rule of thumb is the "one-quarter rule" - the ladder's base should be placed one-quarter of the ladder's working length away from the wall. For example, if you're climbing to a 12-foot height, the base of the ladder should be 3 feet from the wall. Additionally, make sure the ladder extends at least three rungs above the roof line for safe access.
Do I really need a ladder stabilizer?
A: Yes, ladder stabilizers are essential safety equipment, not optional extras. They prevent the ladder from kicking out, which is one of the most common causes of falls. A ladder stabilizer (or standoff) also helps protect gutters and provides better stability when accessing the roof. The cost of a stabilizer is minimal compared to potential medical bills from a fall.
When should I use a safety harness on a roof?
A: You should consider using a safety harness any time you're working on a roof, regardless of the pitch or height. While there's no specific pitch requirement that mandates harness use, remember that falls can happen even on seemingly "safe" low-slope roofs. A basic harness kit costs $100-150, a small investment compared to the potential cost of injury. More advanced systems like the Goat Assist ($500-600) or Ridge Pro ($600) provide additional safety features.
What's the proper way to handle electrical connections for Christmas lights?
A: Follow these key rules for electrical safety:
- Always have only ONE male plug per line
- Use female ends at termination points
- Position connections pointing down and away from gutters to allow water drainage
- Never use tape on connections as it can trap water
- Use clips to secure connections away from gutters
- Always cut wires with the power off
- Use a remote control for testing installations
Why shouldn't I work alone on ladder or roof jobs?
A: Working alone creates significant risks. If you fall or get injured, you need someone to call 911 immediately. There's a real example of a pressure washer who fell from just a 6-foot deck, broke his back, and had to crawl to his truck to call for help because he was working alone. Your spotter can also foot the ladder, watch for hazards, and help with equipment. Always have someone who can call for emergency help if needed.
What should I check before getting on a roof?
A: Before accessing any roof:
1. Look up to check for power lines
2. Sound the roof to check for weak spots or rotted areas
3. Assess weather conditions - avoid wet, icy, or frosty conditions
4. Ensure your ladder is properly positioned and secured
5. Have your safety equipment ready and properly fitted
6. Make sure you have a spotter present
7. Keep your phone on you for emergencies
What are the most common safety mistakes people make?
A: The most frequent safety mistakes include:
- Overconfidence/complacency, especially among experienced workers
- Rushing to complete jobs or "just one more task"
- Using inadequate or worn-out safety equipment
- Working alone without a spotter
- Not maintaining three points of contact on ladders
- Improper ladder positioning
- Not using ladder stabilizers
- Trying to reach too far instead of moving the ladder
How should I store and maintain my safety equipment?
A: Proper maintenance of safety equipment is crucial:
- Regularly inspect all safety equipment before each use
- Replace any worn or damaged items immediately
- Keep ladders clean and free from debris
- Store equipment in a dry place
- Document inspections and repairs
- Never use damaged equipment "just one more time"
- Follow manufacturer guidelines for replacement schedules
What safety training should I invest in?
A: Recommended safety training includes:
- OSHA 10 certification, especially if using rope and harness systems
- Professional safety courses specific to roof work
- Fall protection training
- Ladder safety certification
- Electrical safety training for Christmas light installation
- Regular safety meetings and updates for teams
- First aid and emergency response training
How much should I budget for safety equipment?
A: While safety equipment requires an investment, consider these typical costs versus potential medical bills:
- Basic harness kit: $100-150
- Goat Assist: $500-600
- Ridge Pro: $600
- Ladder stabilizers: $50-100
- Quality extension ladder: $200-400
- Cougar Paws (roof boots): $100-200
- Remote power controls: $50-100
- First aid kits: $50-100
Remember: A single back surgery can cost $180,000 or more. Even the most expensive safety equipment is a bargain compared to medical bills, lost work time, or worse. Investment in proper safety equipment should be considered a necessary business expense, not an optional extra.
Copyright ©2024 All Right Reserved website designed by christmaslights.io
Terms of Service / Privacy Policy
Have questions or need assistance?
Contact us at (855)619-LITE


