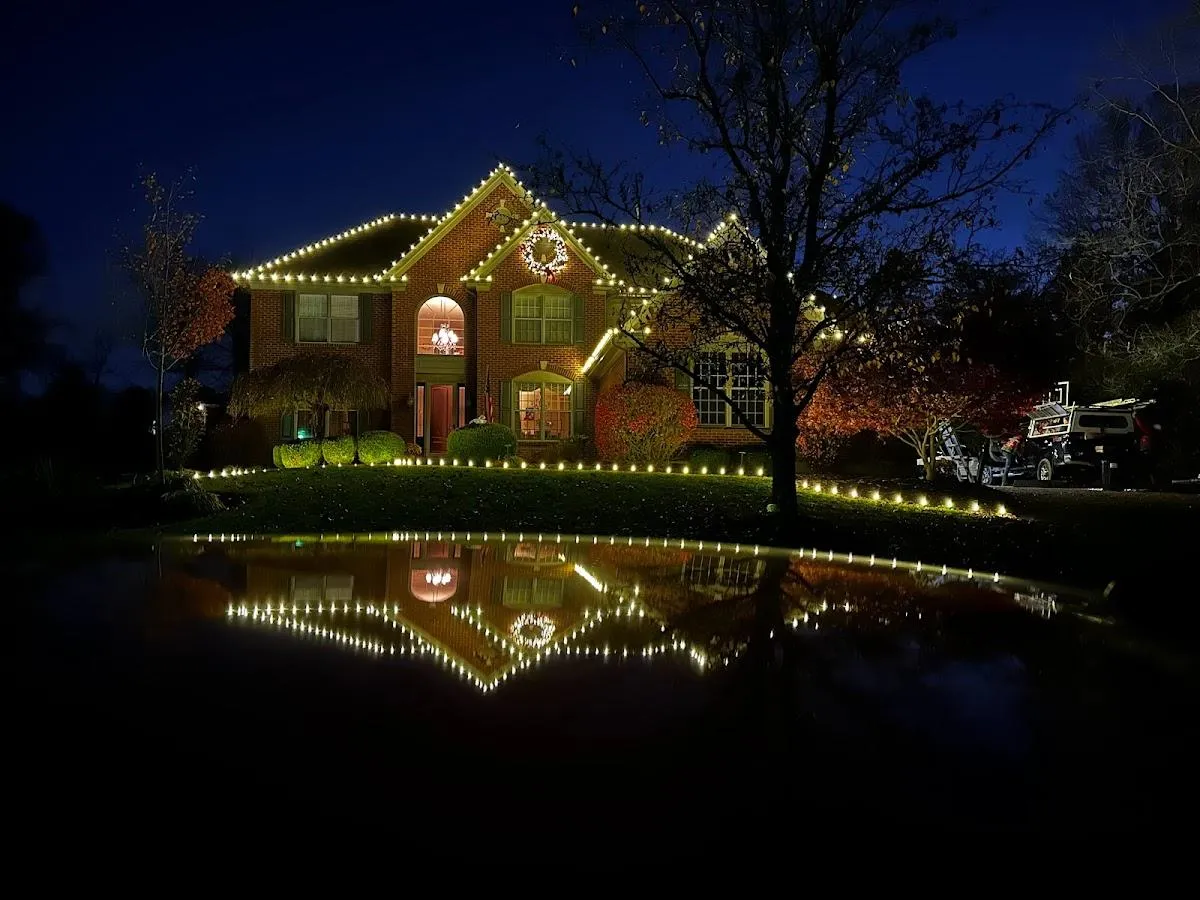
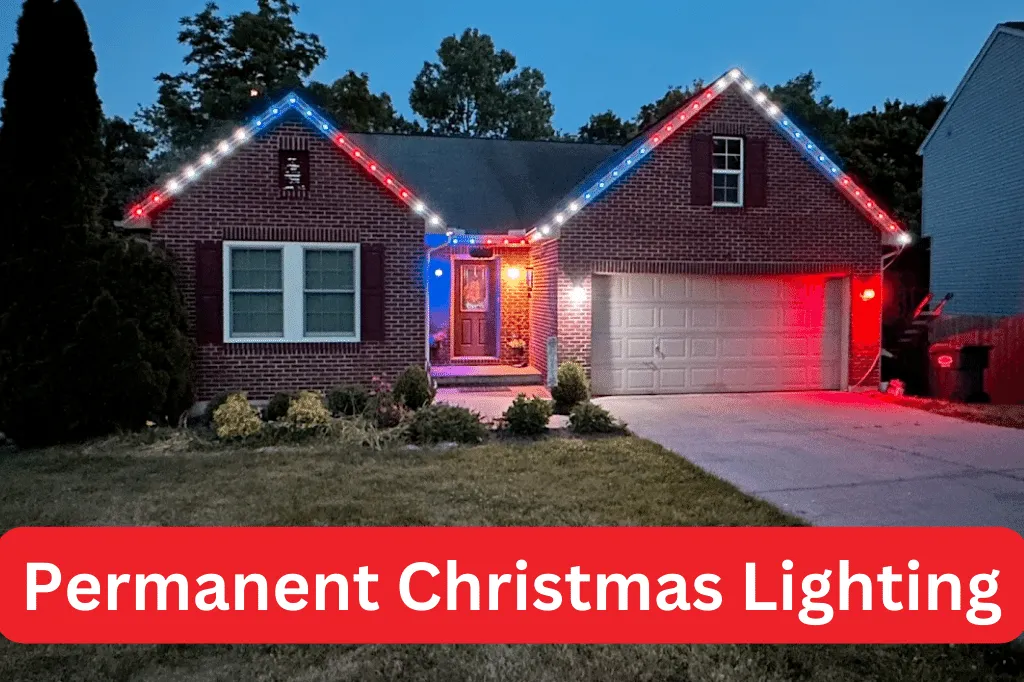
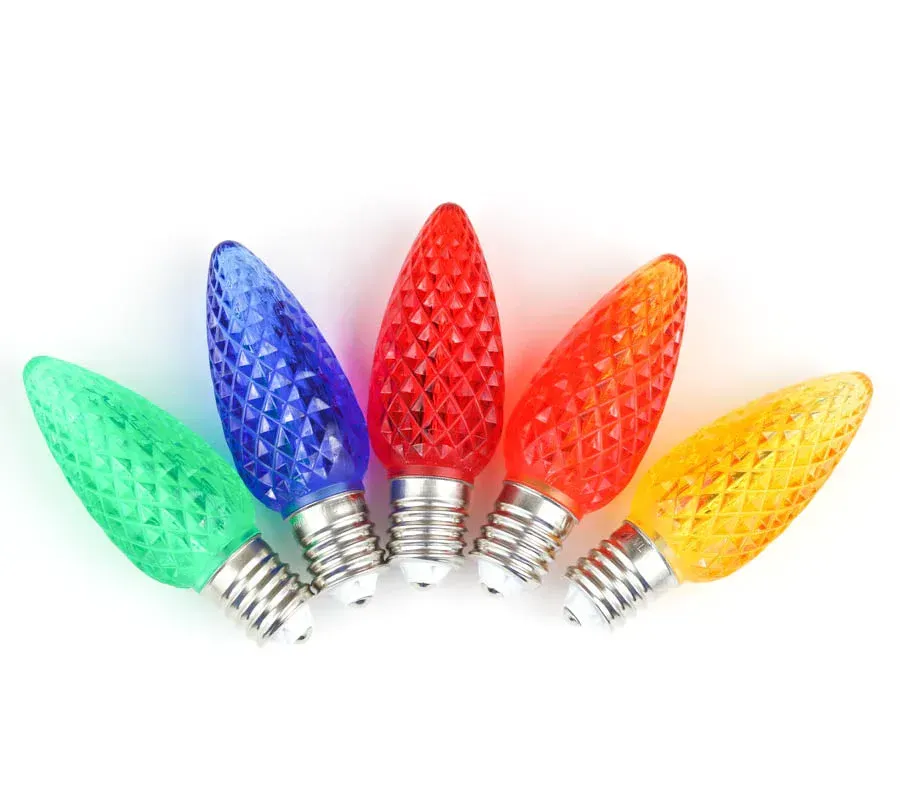
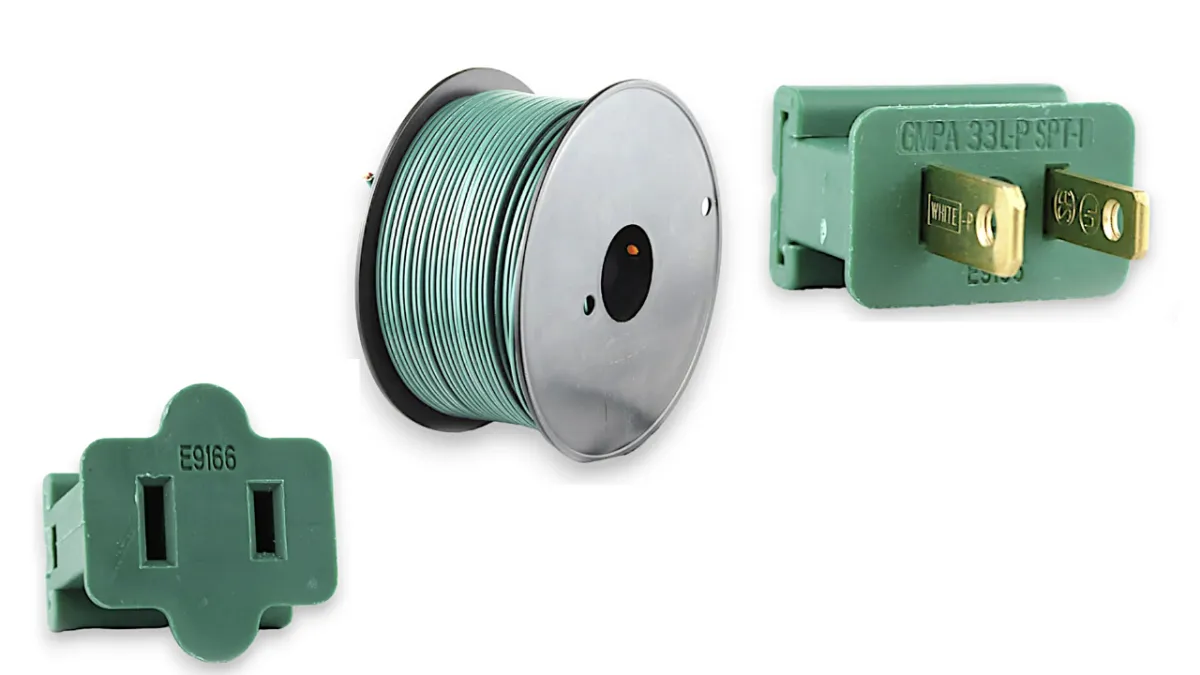
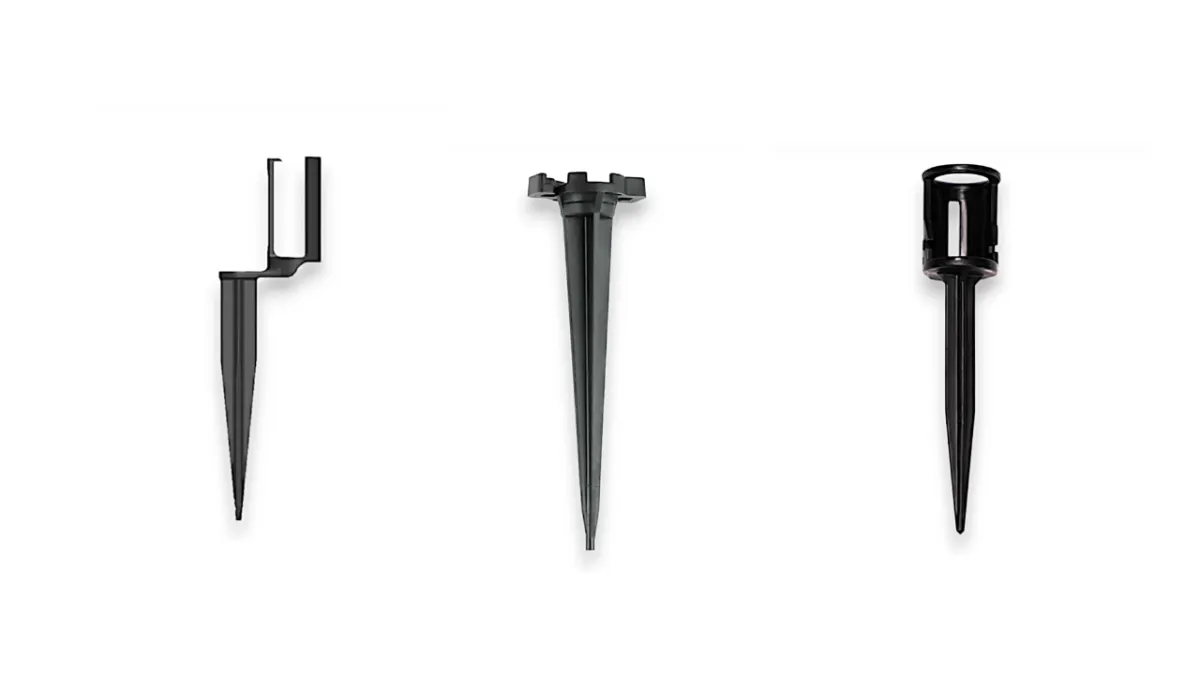
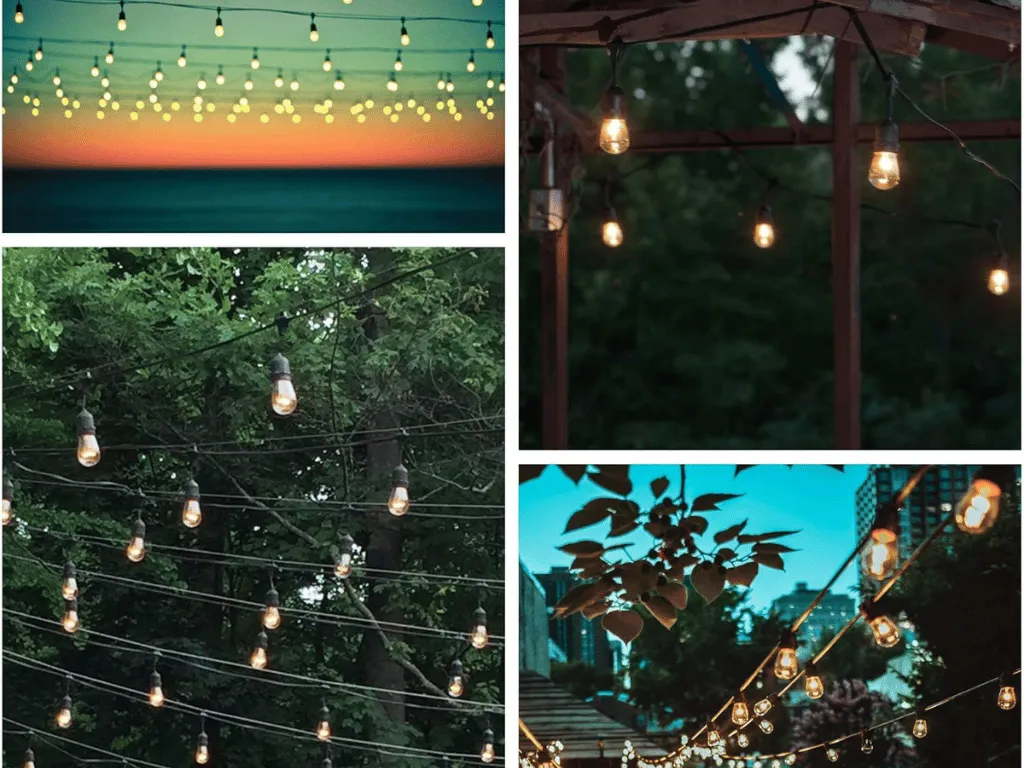
All The Lights, Wire, Plugs, Garland, And Wreaths You Need To Build A Successful Christmas Lights Business
Premium Wholesale Christmas Lights supplies for Professional-Grade Installations
Your One-Stop Shop for Exceptional Christmas Lighting Solutions
Welcome to the ultimate resource for all your Christmas lights installation needs!
We understand the importance of quality, durability, and variety when it comes to building a successful Christmas lights installation business. That's why we offer an extensive selection of everything you need to illuminate the holiday season with brilliance and style.
All Christmas Lights Supplies
Professional-grade Christmas light supplies at unbeatable wholesale prices. Our premium holiday lighting solutions are specifically designed to meet the needs of professional installers, offering the highest quality and durability for stunning and reliable Christmas light displays.
EASY Starter Packages
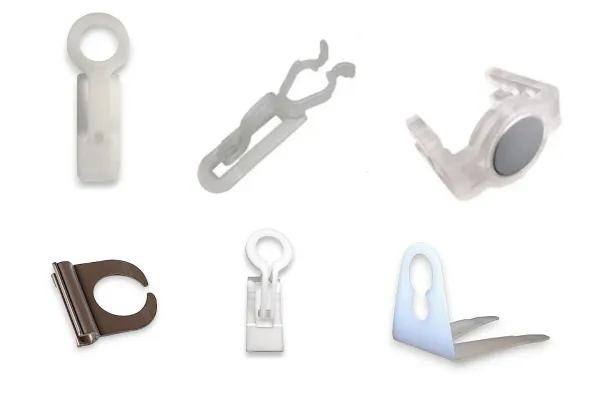
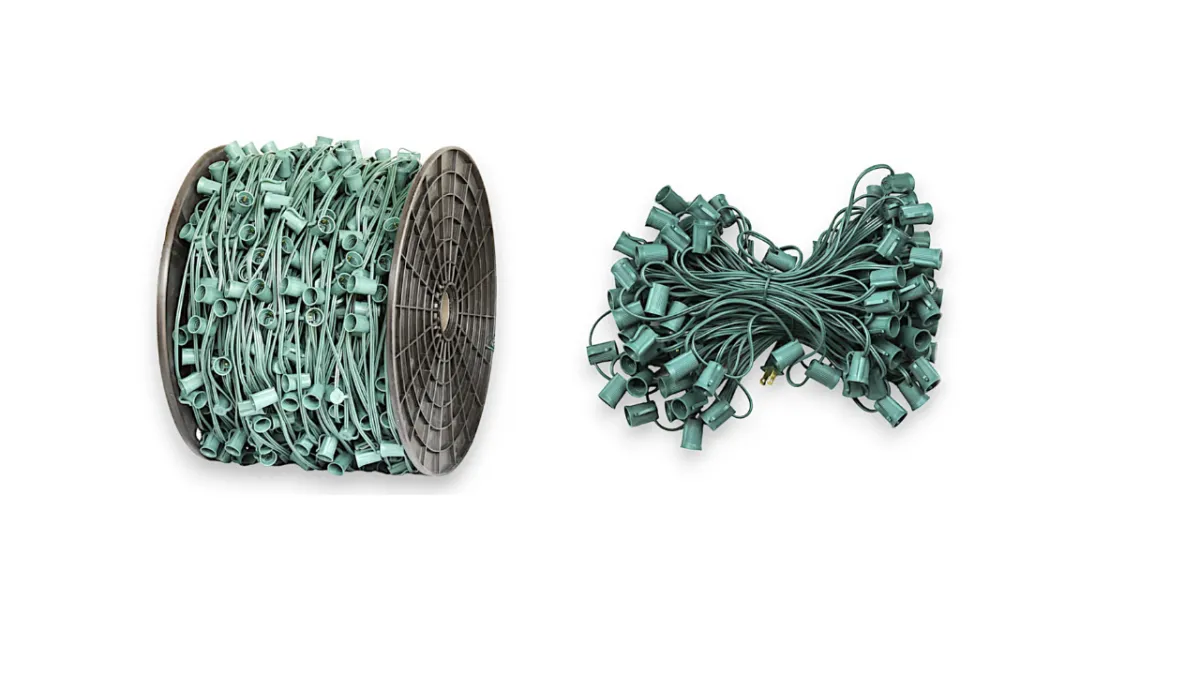
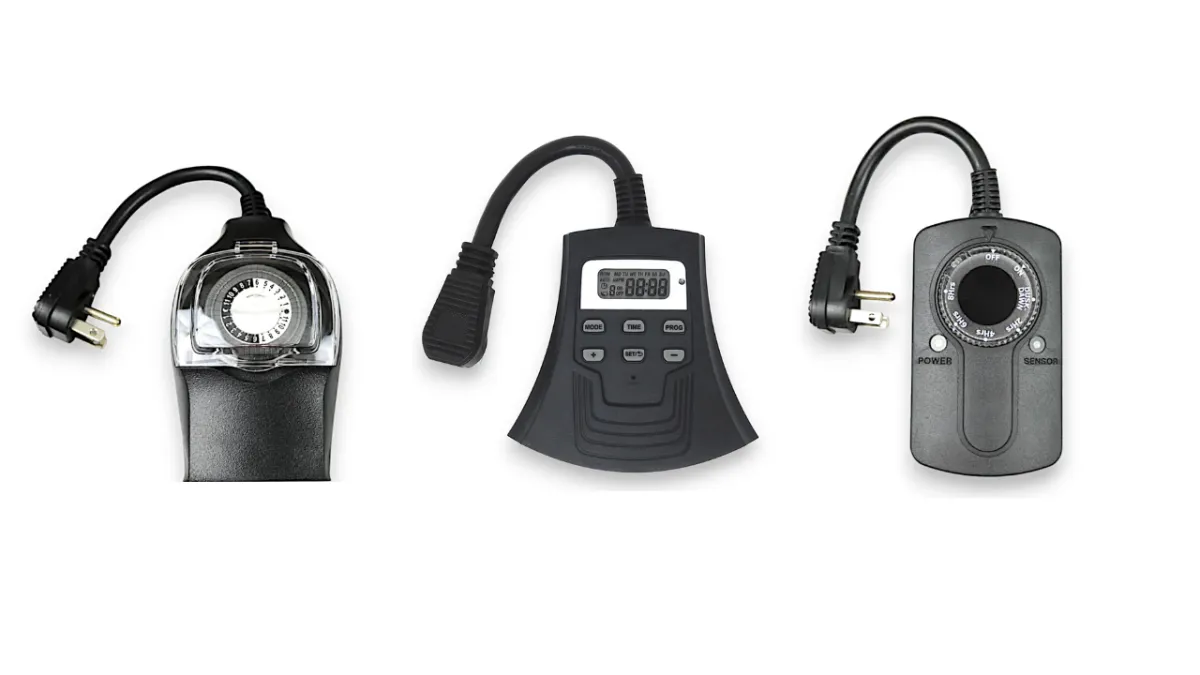
Kickstart your holiday lighting business with our all-inclusive Christmas lights starter packages. These packages include everything you need, from bulbs and clips to socket wires and extension cords, ensuring you're fully prepared to begin your lighting installations from day one.
Discover Expert Tips on Our Blog

Christmas Lights: From Takedown to Storage Solutions
As the holiday season winds down, professional Christmas light installers face the critical task of efficiently and safely removing lights while ensuring proper storage for next year's installation. This isn't just about taking down lights; it's about maintaining your investment, protecting your reputation, and setting yourself up for success in the following season. A well-executed takedown process can save countless hours during next year's installation and prevent thousands of dollars in potential damage to both equipment and client properties. This comprehensive guide will walk you through the best practices for Christmas light takedown, storage, and organization to help streamline your operations and maximize your business's efficiency.
Planning Your Route for Efficient Takedown
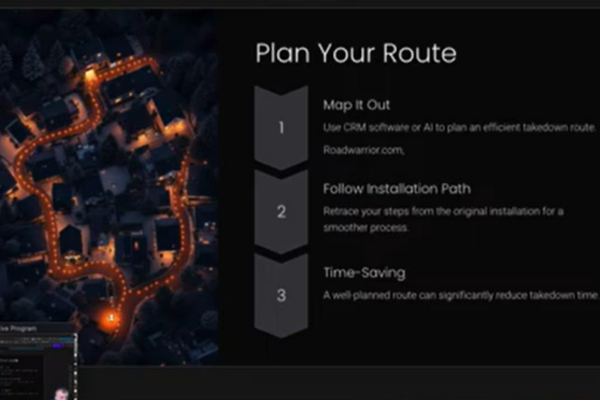
The cornerstone of efficient takedown operations lies in careful route planning. A well-planned route can help you complete 10-15 jobs per day, potentially doubling or even tripling your productivity compared to unplanned routes. This efficiency isn't just about saving time – it's about maximizing your crew's energy, minimizing fuel costs, and ensuring you can maintain consistent quality throughout the day. Many professionals underestimate the impact of proper route planning, but it can be the difference between completing five jobs and fifteen jobs in a single day.
Several powerful tools are available for optimizing your route planning process:
Jobber: Built-in route optimization with higher-tier plans, offering real-time updates and team coordination features. Jobber can automatically account for traffic patterns and optimize routes for multiple crews simultaneously.
Road Warrior: Offers sophisticated CSV file upload capability for efficient routing, allowing you to import hundreds of addresses at once and create optimized routes within minutes. The platform can factor in time windows, vehicle capacities, and priority customers.
ChatGPT: Leverages AI for route optimization from customer lists, providing creative solutions for complex routing scenarios and helping identify efficient groupings of nearby customers.
Google Maps: While more basic, it offers custom route creation for multiple stops and can be particularly useful for smaller operations or when working in familiar areas.
CRM Integration: Most modern CRMs offer address export capabilities for route planning, allowing you to leverage your existing customer data for takedown logistics.
The biggest challenge with completing multiple jobs per day isn't usually the takedown itself—it's managing the logistics of transporting all the materials. A standard residential job might require storage space for hundreds of feet of lighting, dozens of extension cords, and various accessories. Having adequate vehicle space and proper storage containers becomes crucial when you're handling multiple takedowns efficiently. A well-organized trailer or truck system can make the difference between making multiple trips to your storage facility and completing all your daily jobs in one smooth run.
Consider implementing a mobile storage system where bins or containers are pre-labeled and organized by route. This allows crews to quickly load and unload materials while maintaining organization throughout the day. Many successful companies use a color-coding system for their storage containers that corresponds to different areas of their service region, making it easy to sort and store materials as they're removed from each property.
Installation Techniques That Make Takedown Easier
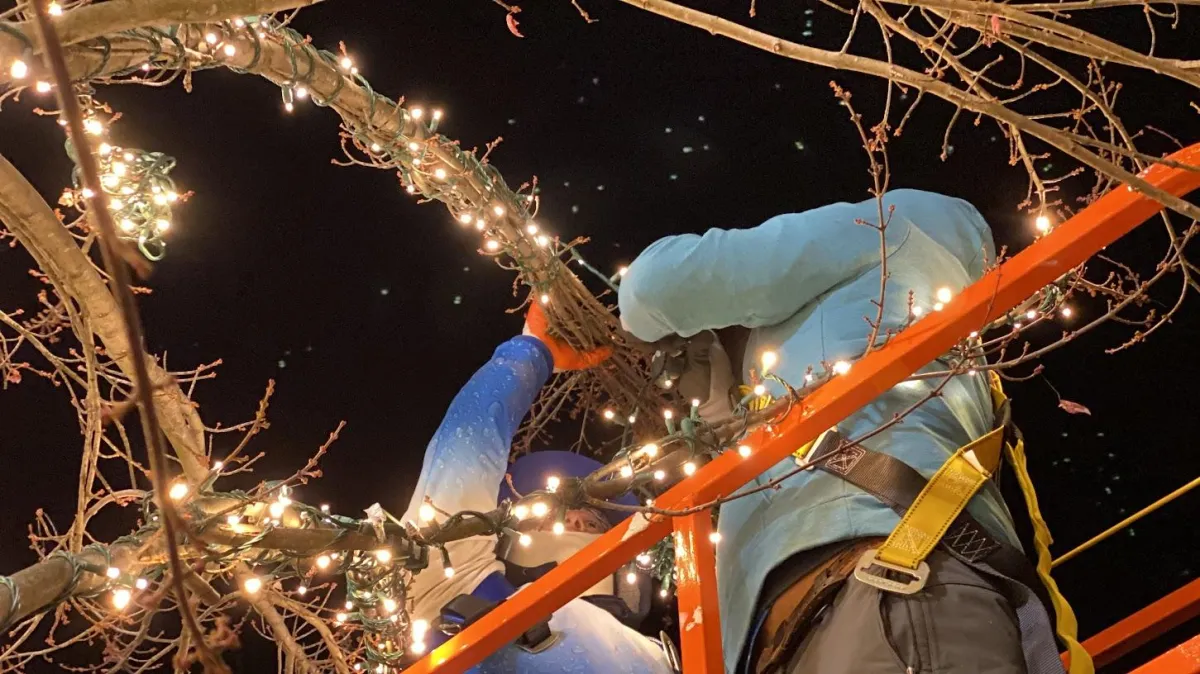
The secret to fast takedown actually begins months earlier during installation. When you install lights properly, most jobs can be completed without ever climbing a ladder – a fact that not only increases efficiency but dramatically improves worker safety. This approach focuses on installation methods that facilitate easy removal while maintaining a professional appearance throughout the season. The most successful installers think about takedown from the moment they begin installation, incorporating techniques that will save hours of labor when the season ends.
Key installation principles for easy takedown:
1. Avoid excessive zip-tie use - limit yourself to only what's necessary for security, and position them for easy cutting during removal
2. Never wrap wires around metal fixtures - this creates unnecessary tangles and can damage both the lights and the fixture
3. Skip adhesives and glue - these create permanent attachment points that can damage property and make removal extremely difficult
4. Use proper clips designed for easy removal - invest in quality clips that grip firmly but release cleanly
5. Always install with removal in mind - think about how each attachment point will be accessed during takedown
6. Utilize tools like Mr. Long Arm or water-fed poles - these allow for installation and removal from the ground
Professional installers who follow these principles find that most residential jobs can be completed in 10-15 minutes during takedown. This efficiency comes from the ability to simply reach up with an extension pole, hook the light strand, and pull it down in one smooth motion. The lights should "zip" down the roofline, maintaining their organization as they come down.
Each attachment point should be designed with removal in mind. For example, when installing clips on gutters, position them so they can be easily unclipped from the ground using a pole with a hook attachment. When working with peak lights, consider using special clips that can be removed with a gentle pull rather than requiring direct manipulation. These small considerations during installation can save hours during takedown.
The proper use of tools is crucial for efficient takedown. A quality extension pole system with various attachments can handle most takedown situations. Important tools include:
* Hook attachments for pulling down light strands
* Clip removal tools for stubborn attachments
* Poles with adjustable angles for difficult corners
* Light-weight but sturdy poles that can extend to necessary heights
Documentation and Organization Systems
Proper documentation during takedown becomes your roadmap for next year's installation, potentially saving hours of planning and preventing costly mistakes. Digital documentation tools like Company Cam (approximately $19 per user per month) have revolutionized how professionals track their installations and takedowns. These platforms offer features that go far beyond simple photo storage, providing a comprehensive system for managing your installation records.
Documentation best practices include:
* Taking detailed photos of each installation from multiple angles
* Creating digital annotations showing attachment points and special considerations
* Drawing rough sketches of rooflines with measurements
* Marking specific challenges or unique features of each property
* Storing information by address for easy retrieval
* Maintaining records for damage protection and customer disputes
* Recording any special requests or preferences from the customer
* Documenting the types and quantities of materials used
Physical documentation remains equally valuable, particularly for on-site reference. Many successful installers create detailed installation maps on invoice backs, providing quick reference during both takedown and next season's installation. These physical documents often include:
* Rough sketches of the property layout
* Notations about specific attachment points
* Material quantities and types used
* Special instructions for unique features
* Color-coding systems for different sections
* Notes about potential hazards or challenges
The most effective documentation systems combine both digital and physical methods, creating redundancy and ensuring that critical information is always available. During takedown, crews can quickly reference these documents to ensure they're removing everything properly and storing it in a way that will make sense for next year's installation.

Light Organization and Storage
Implementing a well-planned organization and storage system is crucial for maintaining your investment in professional lighting equipment. A straightforward labeling system, such as the industry-standard color-coded zip tie system, can save dozens of hours during next year's installation season and prevent thousands of dollars in replacement costs due to damaged or misplaced lights. The most successful companies treat their storage systems as a critical business process, not an afterthought. Here's a breakdown of the color-coded zip tie system used:
First Floor: Use one red zip tie on the right side as the starting point for all installations, with additional markers to indicate specific sections or features like columns or doorways.
Second Floor: Use two red zip ties to clearly differentiate from first-floor sections, possibly combined with additional markers for specific areas.
Peaks (from right to left): Assign zip ties progressively (one for the first peak, two for the second, and three for the third), consider using a different color for peaks to enhance distinction, and add special markers for different pitch angles or challenging access points.
Wrapping Lights for Storage
When it comes to wrapping lights for storage, consistency is key. Professional installers have developed specific techniques to prevent tangling and protect both bulbs and wiring. For string lights, it's crucial to maintain all clips and bulbs in their original positions since removal and reattachment can waste valuable time and risk damage. Instead of creating tight balls or random bundles, adopting a systematic folding pattern can make a significant difference:
Start by grabbing the end of the strand.
Count out a length equivalent to 5-6 bulbs.
Carefully fold this section, keeping the bulbs aligned.
Continue this pattern until you reach the end of the strand.
Secure the bundle with the end of the cord.
Immediately add any necessary labels or markers.
This methodical approach results in neat, manageable bundles that easily unfold during the next year's installation. Many professionals find that spending an extra 30 seconds properly folding each strand can save 5-10 minutes during reinstallation.
Storage Containers
Choosing the right storage container requires careful consideration of various factors. Here's an overview of the options available:
Plastic Totes:
Advantages: Plastic totes are extremely durable, weather-resistant, and readily available at most hardware stores. They are stackable, which makes for efficient use of space, and can last multiple seasons.
Disadvantages: These totes often lack proper ventilation, which can trap moisture, necessitating the drilling of drainage holes. Their tapered sides can make space use inefficient, and they generally have a higher initial cost than other options.
Best Practices: To mitigate moisture issues, drill ventilation holes and place desiccant packets inside. Store them in climate-controlled areas and label each tote clearly with contents and customer information.
Cardboard Boxes:
Advantages: Cardboard boxes provide excellent ventilation and are very cost-effective. They are easy to label and modify, collapsible when not in use, and biodegradable if damaged.
Disadvantages: Their durability is limited, and they are susceptible to moisture damage, which may necessitate seasonal replacement. They are also less stable when stacked.
Best Practices: Reinforce corners and edges to enhance durability, store them away from direct ground contact, use waterproof markers for labeling, and consider double-walling boxes for additional strength.
Fruit Trays:
Advantages: Fruit trays offer superior ventilation and are extremely space-efficient when stacked. They are durable yet lightweight and often come with built-in document holders. They are also collapsible for easy storage during the off-season.
Disadvantages: These trays can be difficult to source and require a higher initial investment. They may also need special storage racks and typically offer limited size options.
Best Practices: Develop relationships with local produce vendors to ensure a steady supply, install document pouches for organizing customer information, create standardized systems for stacking, and consider color-coding for different products or areas.

Storage Locations
The choice of storage location can significantly affect the longevity of your professional Christmas light installations, which represent a substantial capital investment, often totaling tens of thousands of dollars in inventory. Proper storage conditions can extend the lifespan of your lights by several seasons, whereas poor storage can render them unusable after just one off-season.
Critical Environmental Factors to Consider:
Temperature Stability: It's crucial to avoid extreme temperature fluctuations.
Humidity Control: Prevent condensation and corrosion by controlling humidity levels.
Chemical Exposure: Keep lights away from harsh chemicals such as cleaning supplies and pool chemicals.
Light Exposure: Minimize UV damage to plastics and insulation to preserve integrity.
Pest Control: Ensure that the storage area is secure from rodents to prevent damage to wiring.
Physical Security: Protect your investment against theft and vandalism.
Personal Storage Solutions:
Garage Storage: While readily available and convenient, garages often lack climate control and can have limited space, with potential competing uses.
Basement Storage: Basements are usually temperature stable and offer good security, although they may have issues with humidity, and access can be challenging.
Workshop/Shed Storage: These offer a dedicated space that can be customized to business needs but may lack climate control and have security concerns.
Commercial Storage Options:
Rental Units (10x20 typical): Managed professionally with options for climate control, these units often provide 24/7 access but come with higher operating costs ranging from $2,000 to $3,000 annually.
Warehouse Space: Ideal for scalable operations as the business grows, warehouses provide professional environments with loading docks and equipment, albeit at the highest cost.
Shared Storage Facilities: These facilities allow you to split costs with other businesses, offering flexible space options. However, they might present potential scheduling conflicts and less control over the environment.

Business Considerations and Operational Planning
The business aspects of Christmas light takedown are a critical component of the annual business cycle for successful companies, integrating deeply into their broader operational strategy beyond just the physical removal of lights. Effective pricing strategies are essential, typically ranging from $8-12 per foot for both installation and takedown, with additional charges for complex architectural features. Companies might offer early booking incentives, volume discounts for large properties, premium rates for rush services, and special pricing for commercial clients.
Scheduling is another crucial consideration during the takedown season. Companies should start planning their takedown routes before the installation season concludes, taking into account weather patterns, seasonal changes, customer preferences, and property access. It's important to balance crew availability with equipment needs and maintain flexibility for unexpected situations, while also planning for regular equipment maintenance and inventory checks.
Customer communication is integral to the process, starting with setting clear expectations during the initial installation. Detailed takedown scheduling options should be provided, along with incentives for early booking. Regular updates about timing, proactive handling of special requests, and follow-ups after service completion help maintain good customer relations and set the stage for discussions about the next season.
Lastly, crew management requires careful attention. Companies need to provide comprehensive training on takedown procedures, establish clear quality control standards, and implement safety protocols for winter conditions. Efficient documentation procedures should be created to track progress and issues, and backup plans developed for equipment failures. Maintaining robust communication systems between teams is essential to enhance coordination and efficiency.
Professional Christmas light takedown represents a critical junction in the annual cycle of a successful holiday lighting business. The care and attention given to this phase directly impacts both customer satisfaction and operational efficiency for the following season. By implementing comprehensive systems for planning, documentation, storage, and business management, companies can transform what many view as a necessary chore into a strategic advantage.
Success in this industry requires more than just technical skill - it demands a systematic approach to every aspect of the operation. From the initial installation planning to the final storage preparation, each step builds upon the others to create a sustainable and profitable business model. Companies that master these processes find themselves well-positioned for growth, with satisfied customers and efficient operations providing a strong foundation for future success.
The business aspects of Christmas light takedown are an integral part of the annual business cycle for successful companies, not merely the physical removal of lights. This process is woven into the broader operational strategy, considering various elements from pricing to crew management.

How many Christmas light takedown jobs can be completed in one day?
With proper route planning and organization, a professional team can complete 10-15 jobs per day. The key limiting factor isn't usually the takedown itself but rather the logistics of transporting and storing the materials. To achieve this level of efficiency, you need adequate vehicle space, proper storage containers, and a well-planned route that minimizes travel time between locations.
Do I need to use a ladder for Christmas light takedown?
When lights are installed correctly, most takedown jobs can be completed without ever using a ladder. The key is using tools like Mr. Long Arm or water-fed poles with hook attachments. By installing with takedown in mind and using proper clips, lights should be able to "zip" down quickly and safely from ground level. The only exceptions might be for mini lights on columns or specific architectural features that require closer access.
What's the best way to store Christmas lights after takedown?
There are several effective storage methods, but one of the most efficient is using fruit trays or similar ventilated containers. When storing lights, keep all clips and bulbs attached, and wrap them in consistent sections rather than tight balls. Count out 5-6 bulbs' length, fold them together, and secure the ends. For mini lights, create neat balls and connect the male and female ends together. Always ensure proper ventilation in your storage containers to prevent moisture damage.
How should I label my lights for easy installation next year?
Implement a simple color-coded zip tie system. For example, use one red zip tie on the right side for first-floor lights, two red zip ties for second-floor lights, and number your peak lights from right to left (one zip tie for first peak, two for second, etc.). Keep your labeling system consistent and document it for your crew. This system makes it easy to quickly identify where each strand belongs during next year's installation.
What's the best way to document installations for next year?
Use a combination of digital and physical documentation. Digital tools like Company Cam ($19/user/month) allow you to take photos, make annotations, and store everything by address in the cloud. Additionally, create physical installation maps on invoice backs, drawing rough sketches of rooflines and noting attachment points. This dual approach ensures you have reliable references for next year's installation and provides protection against potential damage claims.
What should I avoid when taking down Christmas lights?
Avoid rushing the takedown process and damaging either the lights or the property. Never pull lights down aggressively if they seem stuck - this usually indicates they were installed with adhesives, wrapped around fixtures, or secured with too many zip ties. Also, avoid storing wet lights or placing them in non-ventilated containers, as this can lead to corrosion and damage.
How can I optimize my takedown route?
Several tools can help optimize your route: Jobber's built-in route optimization, Road Warrior for CSV file uploads, ChatGPT for route planning, or even Google Maps for custom routes. Export your customer list from your CRM and use these tools to create the most efficient path between jobs. Consider factors like property proximity, traffic patterns, and time windows for optimal routing.
What should I consider when choosing a storage location for my lights?
Choose a storage location with proper ventilation and protection from extreme temperatures and moisture. Avoid storing lights near chemicals, especially bleach, which can cause deterioration. Options include personal storage (garage, basement), commercial rental units (typically 10x20), or warehouse space. Consider accessibility, security, and climate control when making your choice. The cost for a commercial unit typically ranges from $2,000-3,000 annually for a 10x20 space.
How should I handle ridge clips during takedown?
The approach depends on the type of ridge clips used. For newer slide-in models (like Best Clips), you can usually leave the clips attached to the lights during storage. For standard ridge clips, it's often better to remove them and store them separately, clicking them back together in their original strips. This prevents tangling and makes next year's installation more efficient.
What pricing structure should I use for takedown services?
Include takedown in your initial installation pricing, typically charging between 8-12 dollars per foot for the complete service. This comprehensive pricing ensures you're compensated fairly for both installation and removal. Consider offering early booking discounts for customers who allow you to schedule takedown before October 31st, as this helps manage your schedule more efficiently and allows you to focus on new installations during peak season.
Frequently Asked Questions
What are the essential supplies needed for Christmas light installation?
The basics include bulbs (like C9 or C7), socket wire, clips, plugs, extension wires, and optionally, timers. Check out the Christmas lights starter packages to get everything you need to start.
How do I choose the right type of Christmas light bulb?
Consider the desired look and location. C9 bulbs are larger and often used for outdoor displays, while mini lights are great for trees and bushes.
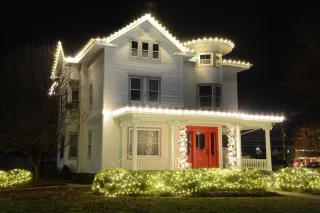
What is the difference between commercial-grade and residential-grade Christmas lights?
Commercial-grade Christmas lights are designed for heavy-duty use and can withstand harsher conditions than residential-grade lights. They are also typically brighter and more durable.
What are the different types of commercial-grade Christmas lights?
The most common types of commercial-grade Christmas lights are LED, C7, C9, mini, and solar lights.
What are the benefits of using commercial-grade Christmas lights?
Commercial-grade Christmas lights are more durable, brighter, and more energy-efficient than residential-grade lights. They are also more versatile and can be used to create a variety of different looks.
What are the drawbacks of using commercial-grade Christmas lights?
Commercial-grade Christmas lights can be more expensive than residential-grade lights. They may also be more difficult to find.
How do I choose the right type of commercial-grade Christmas lights for my needs?
When choosing commercial-grade Christmas lights, consider the following factors:
Durability: If you are using the lights for a large or outdoor display, you will need to choose lights that are durable and can withstand harsh weather conditions.
Brightness: If you need the lights to be seen from a distance, you will need to choose lights that are bright.
Energy efficiency: If you are using the lights for a long period of time, you will want to choose lights that are energy-efficient.
Versatility: If you want to be able to create a variety of different looks, you will need to choose lights that are versatile.
Cost: Commercial-grade Christmas lights can be more expensive than residential-grade lights. Set a budget before you start shopping.
Where can I buy commercial-grade Christmas lights?
Commercial-grade Christmas lights can be purchased online, at specialty lighting stores, and at some home improvement stores. Best prices are above to buy lights
How do I install commercial-grade Christmas lights?
To test commercial-grade Christmas lights before you install them, simply plug them in and turn them on. If any of the lights do not work, replace them before you put up your display.
How do I store commercial-grade Christmas lights properly?
When you are finished with your commercial-grade Christmas lights, be sure to store them properly in a cool, dry place. This will help to extend the life of your lights.
What is the average lifespan of commercial-grade Christmas lights?
The average lifespan of commercial-grade Christmas lights is 5-10 years. However, this can vary depending on the type of light and how well it is cared for.
How do I troubleshoot commercial-grade Christmas lights?
If you are having problems with your commercial-grade Christmas lights, the first thing you should do is check the wiring. Make sure that all of the connections are secure and that there are no frayed or damaged wires. If the wiring is in good condition, the next thing you should do is check the light bulbs. Replace any bulbs that are burned out.
What is the warranty on commercial-grade Christmas lights?
The warranty on commercial-grade Christmas lights varies depending on the manufacturer. Be sure to read the warranty information before you purchase your lights.
What are the safety precautions to take when using commercial-grade Christmas lights?
When using commercial-grade Christmas lights, it is important to take the following safety precautions:
Always use proper wiring.
Secure your lights to the ground or structure.
Do not overload your electrical circuits.
Be careful when using ladders or other elevated surfaces.
Copyright ©2024 All Right Reserved website designed by christmaslights.io
Terms of Service / Privacy Policy
Have questions or need assistance?
Contact us at (855)619-LITE


