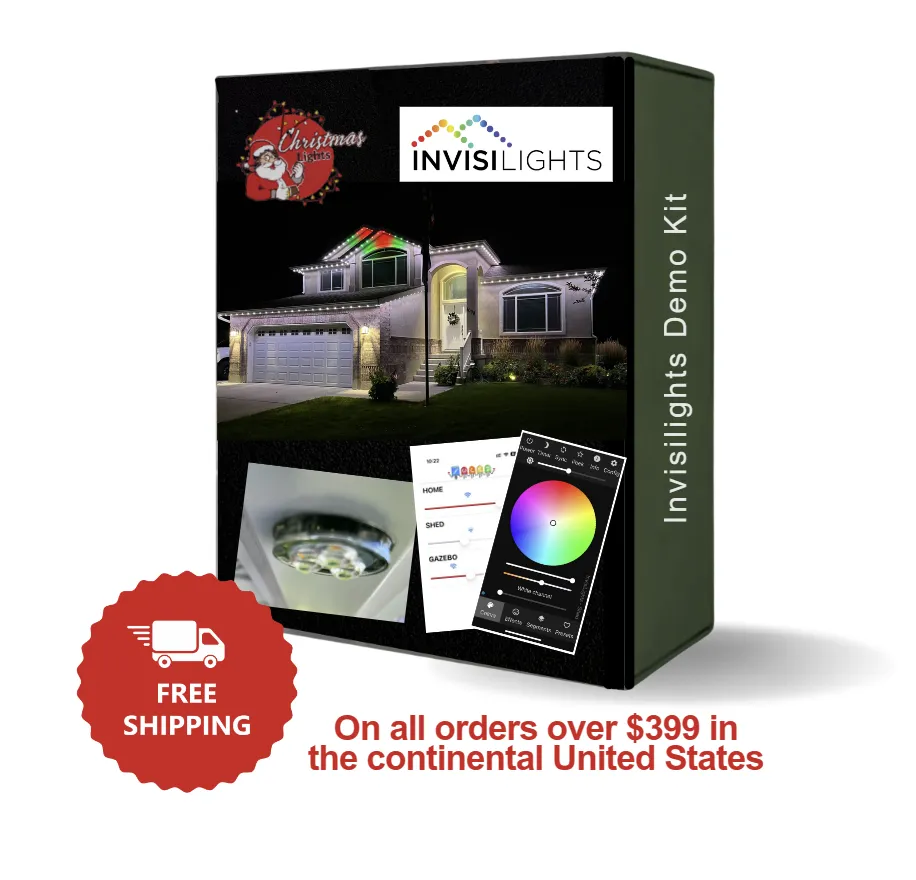
Invisilights
Permanent Holiday Lighting
Customizable Lights for Any Event
WHAT YOU NEED TO KNOW BEFORE ORDERING
Total Linear footage of the installation.
This should include footage of lights and channel along with any Extensions or jumps you'll need to make
Where your controller box will be located
This is the most important step to planning out an installation, Without knowing where the controller will be you'll have no way to know the right materials to buy when it comes to extensions and accessories.
What Voltage system you want to use 24V or 36V
This is a decision you will make based on convince and efficiency, the most important factor with this will be the footage of each lighting run. If the total footage of a run is over 100' you'll need to either power inject on that run or switch to the 36V system that can go up to 200' before needing power injection.
Draw a Map
By mapping out the installation you'll be able to better understand and plan out the install giving you a better idea of what all you'll need to purchase to complete the job.
take the measurements from your map and add up the total number of materials you'll need.

For the Map out example above the total material breakdown is:
System Voltage: 36V
Color of channel: Cameo
Channel Type: Hat
Total Lighted Footage: 160'
Power injection: NO
Controller: 1
Channel: 27- 6' sticks
Screws- 200
Lights: 175
1' extensions-7
6' Extensions-2
12' extensions-2
25- extensions- 1
Y Cables- 3
End caps- pack of 10
Absolute necessities
-Controller
-Lights
-Channel
-Screws
-Extension cables
Other Accessories
-Y Cable
-End Caps
- Signal boosters
-Power injection material
When would you need to power inject?
The controller will come with 3 outputs for your lighting runs, each 36V output can do a Max of 200', the 24V system can do a max of 100'. After that max you'll need to inject power. After you do so you can go an additional 100' with the 24V or 200' with the 36V system.
Power injection is needed due to voltage drop, voltage drop happens due to the length traveled away from the power source along with the gauge of the wire. due to the gauge of wire the lights and extensions run on it drops in voltage enough at 100' with the 24V system and 200' with the 36V system to effect the lights performance requiring a addition of power (Power Injection)
Materials needed for power injection 36V
Power injection pig female pig tale
Power injection Extension cables
Power injection T Cable.
Materials needed to Power inject 24V
16/2 - 12/2 Low voltage landscaping wire
Cut and Splice T cable
Water Proof Wire connectors
Discover the Transformative Power of Invisilights: Expertly Installed Permanent Lighting Solutions
Enhance your installation offerings with Invisilights, the premier permanent lighting solution designed for seamless integration into any property’s exterior architecture.
Crafted with high-quality aluminum channels and advanced LED technology, Invisilights delivers durability and superior energy efficiency—key selling points for your clients seeking long-lasting, cost-effective lighting solutions. Our system not only provides brilliant illumination but also boosts the aesthetic appeal and functionality of any home.
Offer your clients peace of mind with our robust 5-year warranty, ensuring reliable performance and minimal maintenance needs. This warranty supports your commitment to quality and customer satisfaction, making it easier for you to sell and install with confidence.
Our flexible, programmable system allows you to meet any client’s specific desires—from subtle accents to full-scale holiday displays—making it an adaptable choice for various applications. With Invisilights, you can cater to a wide range of preferences and needs, increasing your market reach and customer retention.
Choose Invisilights for your installations and add a transformative product to your portfolio that will impress clients and ensure your services remain in demand for years to come.
Frequently Asked Questions
What exactly comes in the 150' InvisiLights permanent outdoor lighting kit?
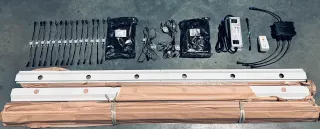
The InvisiLights kit is comprehensively equipped to ensure you have everything you need for installation. Each kit includes:
27 sticks of 6-foot Aluminum Channel to house and protect the lighting elements.
150 feet of dynamic RGBW LED Lights, which includes 23 sets of 6-count and 14 sets of 1-count lights, allowing for extensive coverage and diverse configuration options.
2 Data Boosters to enhance signal strength across the lighting installation, ensuring consistent control and color output.
A 320W Power Supply capable of supporting up to 190 puck lights, providing ample power for even the most extensive setups.
1 GFCI Outlet Adapter to ensure safe outdoor electrical connections.
1 Controller that allows you to manage and customize the lighting effects easily.
Will I need any additional components besides what's included in the Invisilights permanent lighting kit?
While the Invisilights kit comes with all the essential components for a standard installation, there are a couple of scenarios where you might need additional items:
Jumper Wires: Depending on the layout of your installation and the number of gaps or 'jumps' between the sections of lights, you may require jumper wires. These wires help bridge the gaps without losing the continuity of the light sequence, ensuring a smooth and uniform display across more complex architectures.
Data Boosters: If any section of your lighting setup is more than 15 feet away from the control box, additional data boosters will be necessary. Data boosters help maintain the integrity and brightness of the lights over longer distances, ensuring consistent performance throughout your installation.

Can I choose the color of the aluminum channel for my InvisiLights kit?
Yes, you can select your preferred color for the aluminum channel to match your home’s exterior or personal taste. Please make sure to specify your color choice in the notes at checkout when you place your order.
How do the included components of the InvisiLights kit enhance the lighting system?
Each component in the InvisiLights kit plays a crucial role in creating an effective and stunning lighting display:
Aluminum Channels: Provide a durable, weather-resistant housing for the LED lights, which helps in maintaining a clean and nearly invisible look during the day.
RGBW LED Lights: Offer vibrant, full-spectrum color and white light combinations, making it perfect for any occasion from festive holidays to elegant ambient lighting.
Data Boosters: Ensure that the signal remains strong across longer distances, which is crucial for larger installations.
Power Supply: Designed to efficiently handle the energy needs of the system without overload, ensuring safety and durability.
GFCI Outlet Adapter: Adds an extra layer of safety by protecting against electrical shorts and surges, particularly important in outdoor settings.
Controller: Provides the flexibility to customize and control the lighting sequences, colors, and patterns right from your smartphone or controller, adding convenience and advanced functionality to your lighting system.
Can I use Invisilights year-round?
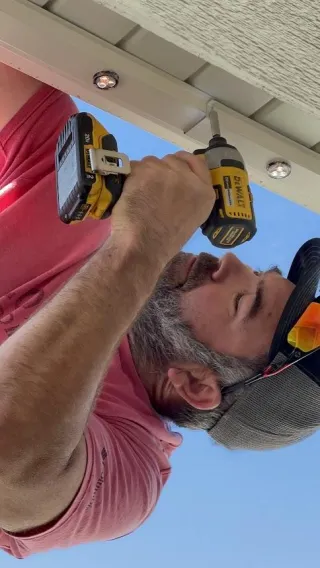
Absolutely! Invisilights are designed for versatile use throughout all seasons. Whether you're celebrating a special occasion, setting a mood for a party, Love your favorite sports team, or simply enhancing your home's ambiance, our lighting systems provide the perfect solution for any event, big or small.

Can I set timers and events for Invisilights?
Yes, Invisilights feature advanced programmable settings that allow you to schedule lighting for specific events and automate timers. This functionality ensures that your lighting preferences are perfectly aligned with your lifestyle, turning on and off at predetermined times without any manual intervention.
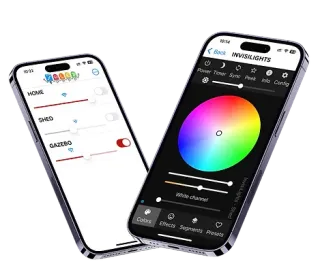
Is it possible to achieve warm or soft white with Invisilights?
Absolutely, Invisilights are equipped with RGBW technology, which includes a dedicated white LED alongside the standard red, green, and blue LEDs. This addition allows the system to produce authentic warm white, soft white, and various other shades of white with greater accuracy and intensity compared to traditional RGB systems. This capability ensures that you can effortlessly tailor the lighting to fit the desired ambiance and aesthetic of any environment, providing precise control over both vibrant colors and the subtlety of different white tones.
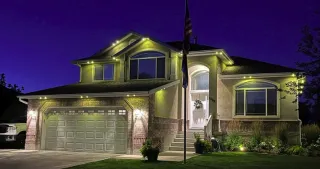
How do you ship your product?
Our products are shipped directly from our warehouse using reliable shipping carriers to ensure timely and safe delivery. Each product is securely packaged to prevent damage during transit, and we provide tracking information so you can follow your order’s journey to your doorstep.
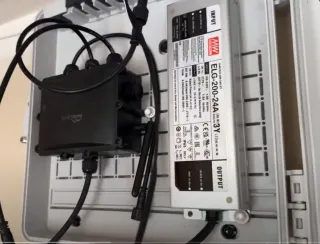
Where are the controller and power supplies installed?
The controller and power supplies for Invisilights are typically installed in an accessible location such as a garage or utility room. These components connect to your home’s WiFi network, allowing seamless control over the lighting system via our user-friendly mobile app.
How long do Invisilights last?
Invisilights are engineered to last, with each LED bulb boasting a lifespan of over 50,000 hours. Given a typical usage of 10 hours per night, this translates to approximately 5,000 nights. This means your Invisilights could illuminate your home's exterior for nearly 14 years under these conditions, ensuring that your investment not only adds beauty but also long-term value to your property.
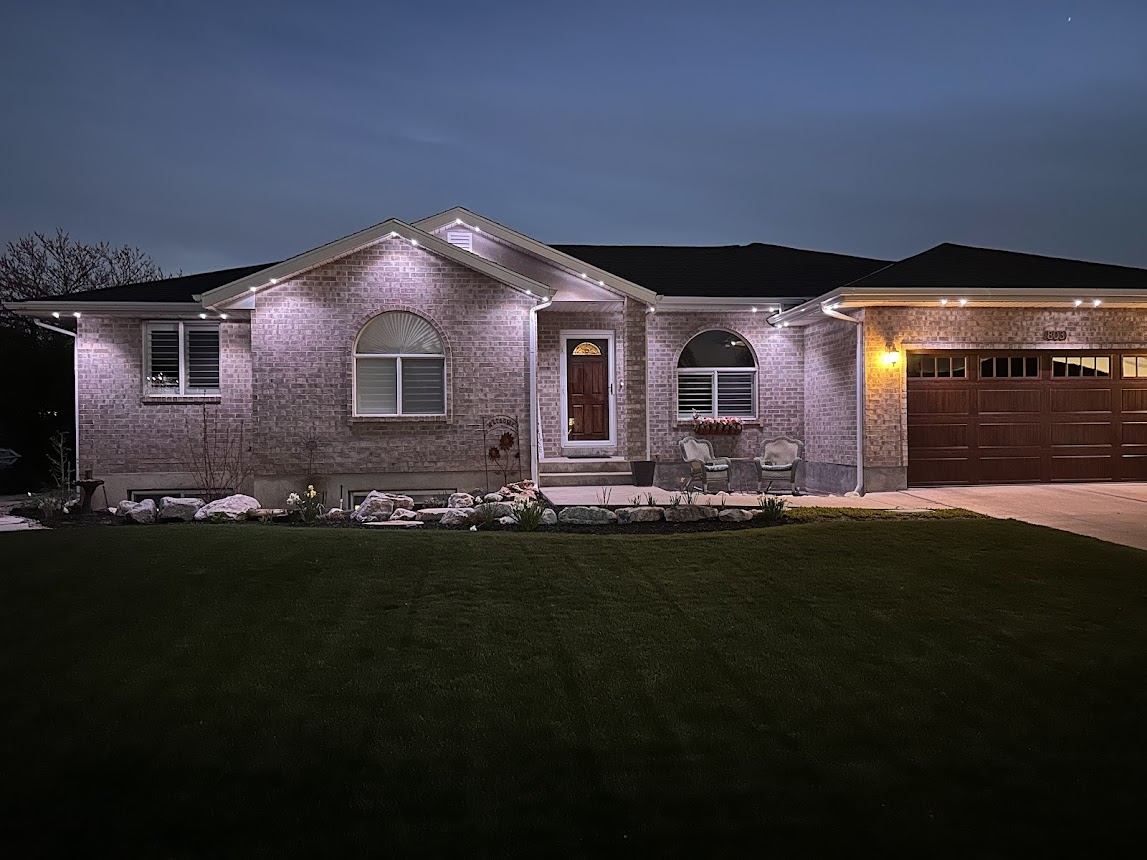
Are Invisilights dimmable?
Yes, all Invisilights are fully dimmable. This feature allows you to adjust the intensity of the light to suit various occasions, from a soft glow for a romantic evening to bright, vibrant colors for a festive celebration.

What types of custom channels are available?
Invisilights offers two types of custom channels, available in 40 different colors, ensuring a nearly invisible installation. These channels are designed to blend seamlessly with your home’s architecture, providing discreet yet effective lighting.

Can I control different zones independently?
Yes, the Invisilights system supports multiple zones which can be controlled independently or synchronized. This functionality allows for intricate lighting designs that can vary across different areas of your home, enhancing the overall impact and utility of your installation.
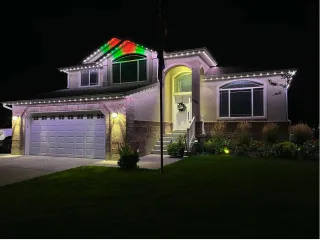
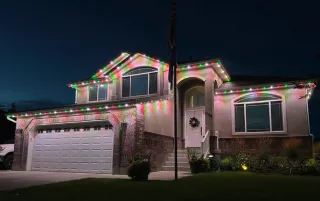
What is outdoor permanent lighting?
Permanent lighting refers to architectural-grade lighting systems that are installed permanently on your property to provide year-round illumination.
How does permanent lighting differ from traditional holiday lighting?
Unlike traditional holiday lighting, which is typically temporary and used only during specific seasons, permanent lighting is installed once and can be used throughout the year for various occasions
Discover Expert Tips on Our Blog
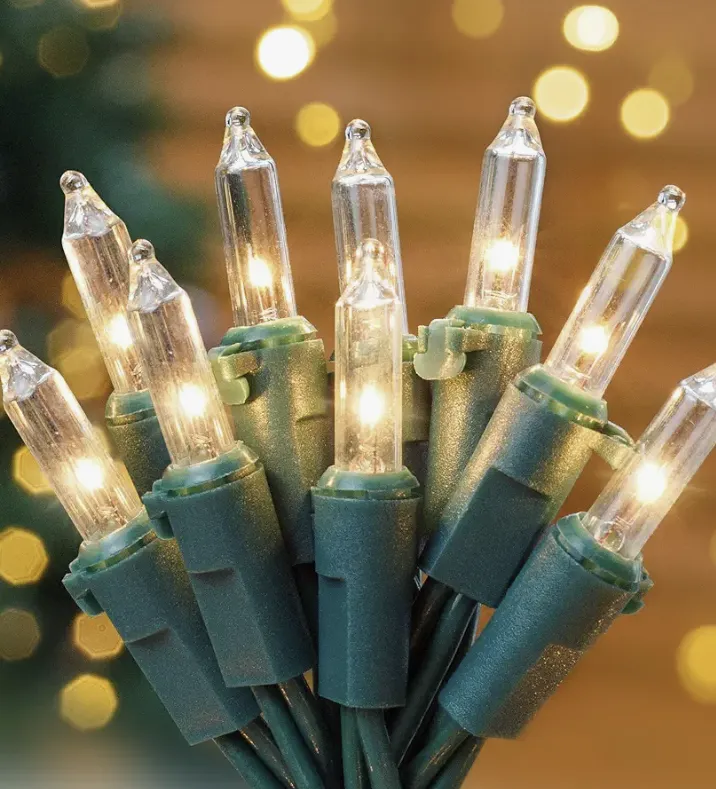
How to Change a Fuse in a Mini Christmas Light Strand
When faced with a dimly lit mini Christmas light strand, you might be dealing with a blown fuse. Have you ever wondered how to tackle this common issue efficiently and safely? The process of changing a fuse in your mini Christmas lights is simpler than you may think. Find out the crucial steps to take and essential precautions to consider to restore the festive glow to your decorations. Stay tuned for expert tips and insights that will help you navigate this repair with ease.
Identifying Blown Fuse Symptoms
To identify a blown fuse in your mini Christmas lights, look for the following symptoms that indicate a possible issue with the fuse. The most obvious sign is when the entire set of lights is out, signaling a potential fuse problem. Check the male plug fuse compartment for a broken wire, as this could also be a cause of the issue. Another key indicator of a blown fuse is dark residue inside the glass of the fuse. However, if only a few lights are out while the rest are working fine, the problem may not be the fuse. In such cases, it's essential to troubleshoot further to determine the root cause. Remember that there are helpful video resources available online that can guide you through the process of identifying and addressing fuse-related problems with your mini Christmas lights.
Reasons for Fuse Failure
When connecting multiple sets of mini Christmas lights end-to-end, you risk blowing the fuse due to overloading the circuit. Overloading occurs when too many light strings are connected, causing the fuse to blow as a protective measure against electrical hazards. To prevent fuse failure, make sure to adhere to the manufacturer's specifications regarding the maximum number of light strings that can be plugged together. Properly connecting the lights is crucial in avoiding blown fuses and ensuring safety during the holiday season. By following guidelines and not exceeding the recommended limit, you can maintain the integrity of the fuses in your Christmas light strands. Remember, blown fuses are a safety feature designed to protect your home and loved ones from potential electrical issues, so always exercise caution when setting up your festive decorations.
Importance of Dual Fuses
Make sure both fuses in your Christmas lights have metal contacts at each end to guarantee their essential function in protecting against electrical hazards. Dual fuses are crucial because they work together to prevent overloading and potential fires. When one fuse blows, the second one kicks in to maintain safety. Without dual fuses, there is a higher risk of electrical damage and safety hazards. The metal contacts at each end of both fuses ensure that the circuit is properly protected. Always ensure both fuses are securely in place with proper connections to maintain safety standards. Remember, one fuse with no metal contacts is just a spare and cannot provide the necessary protection. Proper installation and adherence to manufacturer guidelines regarding fuse usage are key to ensuring the safety of your Christmas light display.
Steps to Replace Blown Fuse
Considering the importance of maintaining safety in your Christmas light setup, ensure you have the necessary tools ready before proceeding with changing the blown fuse. Locate the male plug of your lights where the fuses are usually housed.

Use a small flathead screwdriver to carefully access the fuse compartment.

Once you have the compartment open,

Identify the blown fuse by looking for dark residue inside the glass.

Take the replacement fuse that is typically included in the packaging of the light bulbs near the male plug. Gently remove the blown Christmas lights fuse and replace it with the new one, making sure it is securely in place.

If after replacing the fuse, the lights still do not work, check for any unseated or damaged bulbs in the strand. This simple process can help you quickly restore your mini Christmas lights to their festive glow.
Additional Fuse Replacement Tips
For a smoother fuse replacement process, ensure to double-check the fuse contacts for a secure connection before closing the compartment. Proper contact ensures a steady flow of electricity, preventing any future issues with your Christmas lights. Additionally, before inserting the new fuse, examine it closely to confirm it matches the amperage and voltage requirements of your light strand. Using the correct fuse specifications is crucial to avoid further electrical problems.
When handling the replacement fuse, hold it carefully to prevent any accidental damage. Align the fuse properly with the contacts inside the compartment and gently press it in until it is securely seated. Avoid applying excessive force that could potentially harm the fuse or the contacts.
After replacing the fuse, test the lights to ensure they are functioning correctly. If the lights still do not turn on, double-check the fuse installation and inspect the bulbs for any damages. By following these additional tips, you can effectively replace a fuse in your mini Christmas light strand and enjoy a beautifully lit holiday display.

Can I Use a Regular Household Fuse as a Replacement for a Blown Fuse in My Mini Christmas Light Strand?
No, you shouldn't use a regular household fuse as a replacement for a blown fuse in your mini Christmas light strand. The fuse needs to match the specifications of the lights to ensure safety. Using the correct replacement fuse will help protect against electrical hazards and prevent damage to the lights. Stick to the fuses provided by the manufacturer to maintain proper functioning and avoid potential risks.
Is It Possible for a Blown Fuse to Cause Only a Section of My Mini Christmas Light Strand to Stop Working?
If only a section of your mini Christmas light strand has stopped working, it's possible that a blown fuse could be the culprit. Inspect the affected area for any signs of dark residue inside the glass of the fuses. Remember, a blown fuse can cause a specific section to go out while the rest remains lit. Check the fuses in that section first before proceeding with troubleshooting the lights further.
How Do I Know if the Fuse in My Mini Christmas Light Strand Is Blown if There Is No Visible Dark Residue Inside the Glass?
If there's no visible dark residue inside the glass of your mini Christmas light strand fuse, you can still check for other signs of a blown fuse. Look for a broken wire in the male plug fuse compartment or use a continuity tester to check for continuity in the fuse. If all else fails, consider replacing the fuse as a troubleshooting step. Remember to always prioritize safety when dealing with electrical components.
Are There Any Safety Precautions I Should Take Before Attempting to Change the Fuse in My Mini Christmas Light Strand?
Before changing the fuse in your mini Christmas light strand, always unplug the lights. Safety first! Inspect the male plug and wires for any damage. Once you confirm it's safe, proceed with changing the fuse. Avoid overloading circuits to prevent future issues. Following these precautions will ensure a smooth and safe fuse replacement process.
What Should I Do if I Don't Have a Replacement Fuse for My Mini Christmas Light Strand?
If you don't have a replacement fuse for your mini Christmas light strand, you can try checking for spare fuses included with other light strands or Christmas decorations. Alternatively, you might find compatible replacement fuses at a local hardware or electronics store. If unable to locate a suitable fuse, consider contacting the light manufacturer for replacement options or recommendations. Remember to prioritize safety when dealing with electrical components.

Now that you know how to identify, replace, and understand the importance of fuses in your mini Christmas light strand, you can easily keep your holiday decor glowing bright. Remember to always follow safety measures and handle electrical components with care. By staying informed and proactive, you can ensure a cheerful and illuminated holiday season for years to come. For more information on how to use mini lights on trees, see our blog post: How to Wrap a Tree with Christmas Lights.

Copyright ©2025 All Right Reserved website designed by christmaslights.io
Terms of Service / Privacy Policy
Have questions or need assistance?
Contact us at (855)619-LITE


