Wholesale Pricing Presale Christmas Lights Socket Wire Spools, Stringers & Zip Cord
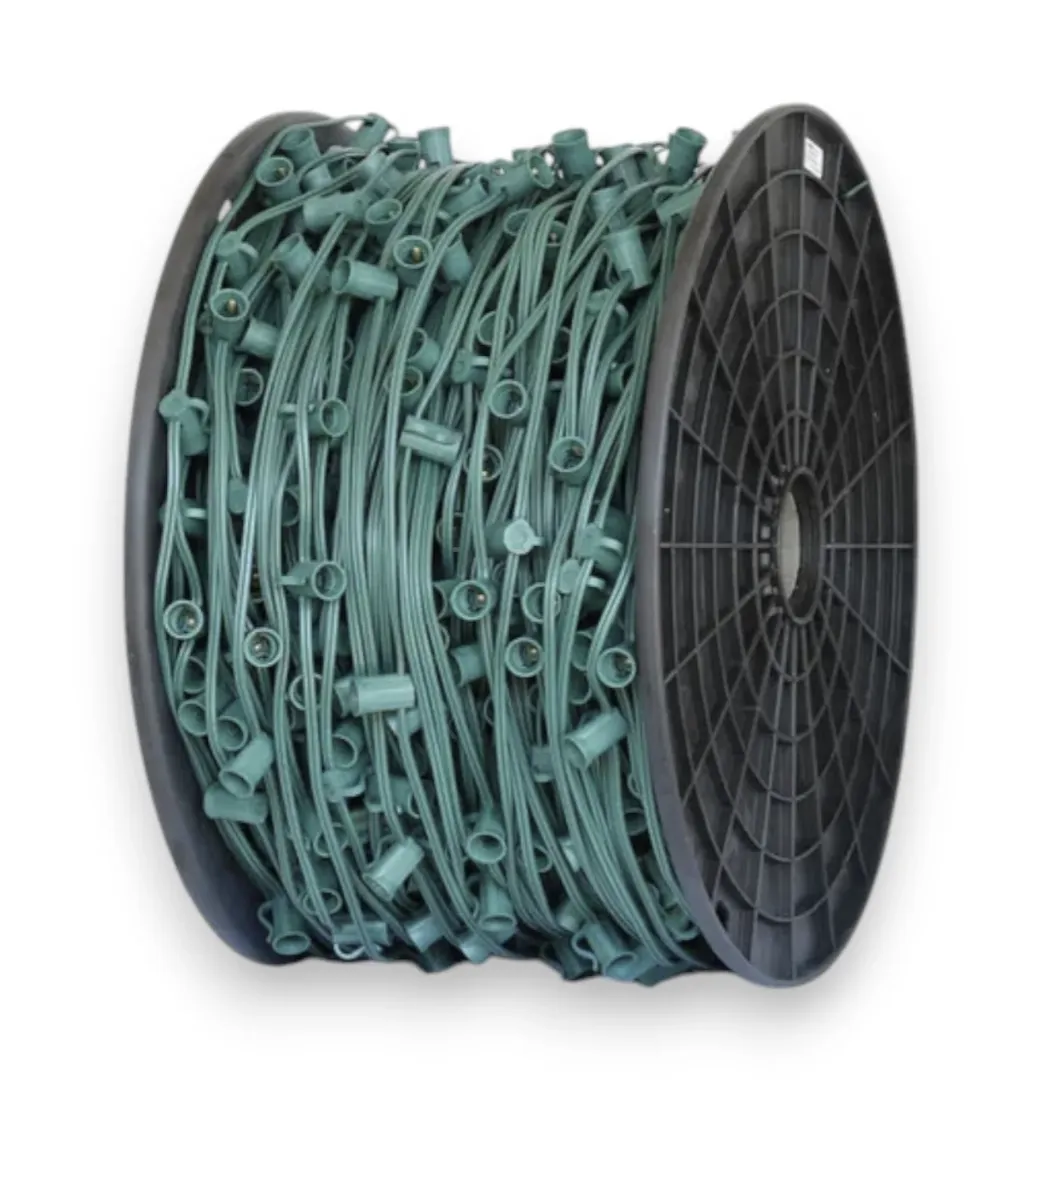
Pre-Season C9 1000' Socket Wire Spools
Looking for the cheapest Christmas lights wire spools at wholesale pricing?
Just purchase before February 15, 2025 and save on our C9 Socket Wire Spools.
Achieve perfect customization for any holiday display with our 1000-foot spool of customizable wire, available in Green, White, Brown, and Black. This versatile wire lets you cut precise lengths to ensure a flawless fit for every project. With flexible spacing options of 12", 15", 18", 24", and 36", you can tailor installations to meet specific needs. Available in top brands like Commercial, Minleon, and Admiral, this SPT-2 wire is the ultimate choice for professional-grade installations.
Key Features:
1000 Feet of Customizable Length: A full spool of 1000 feet provides ample wire to customize and cut to the exact lengths required for your installation, ensuring a perfect fit for every project.
Flexible Spacing Options (6" to 48")
12-15" Spacing: Ideal for residential roofline installations, providing a balanced and visually appealing light distribution.
24-36" Spacing: Perfect for tree installations, allowing you to place larger C9 bulbs strategically within the branches. The wider spacing helps to avoid a straight-line effect, creating a more natural and staggered look.
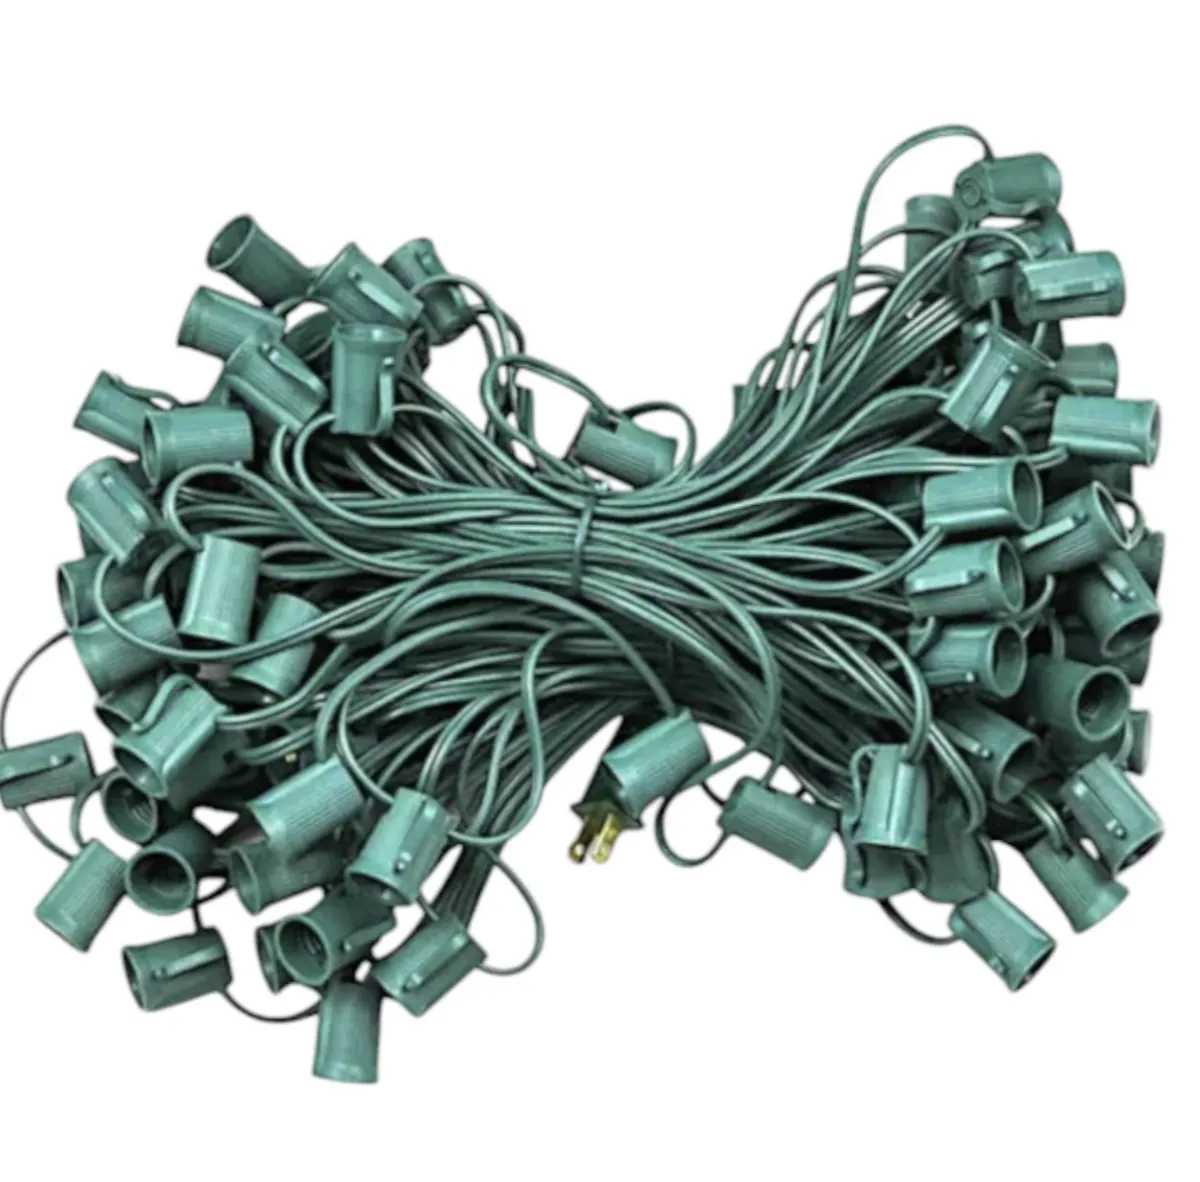
Pre-Season C9 Green Stringers SPT-1
Looking for the best deal on Christmas lights stringers at wholesale prices?
Just purchase before February 15, 2025 and save! The more you buy, the more you save!
Illuminate
Key Features:
Professional-Grade Sockets: Equipped with durable sockets that feature weep holes, these light strings are engineered for trouble-free performance even in damp weather conditions.
SPT-1 Insulation: Boasting a 5 Amp capacity, the SPT-1 insulation ensures safe and reliable operation, making these strings ideal for both indoor and outdoor use.
End-to-End Connectivity: Each string comes with a male and female plug, allowing for easy end-to-end connections to extend your lighting display effortlessly.
Pre-Season C7 1000' Socket Wire Spools
We have the cheapest Christmas lights socket wire spools at wholesale prices!
Just purchase before February 15, 2025 and save on C7 Socket Wire Spools!
C
Key Features:
Durable SPT-1 Wire: Built to endure harsh outdoor conditions, this heavy-duty wire ensures that your lighting installation remains secure and reliable season after season.
Compatible with C7 Bulbs: Specifically designed for C7 bulbs, whether you choose traditional incandescent or energy-efficient LED options, offering versatility in your lighting setups.
Pre-Season Christmas Lights Zip Lamp Cord SPT-1 or SPT-2
As Low As $0.19 per foot
Get the lowest prices on Christmas lights Zip Cord with our pre-season wholesale deal!
Just purchase before February 15, 2025 and save on Christmas Lights Zip Lamp Cord
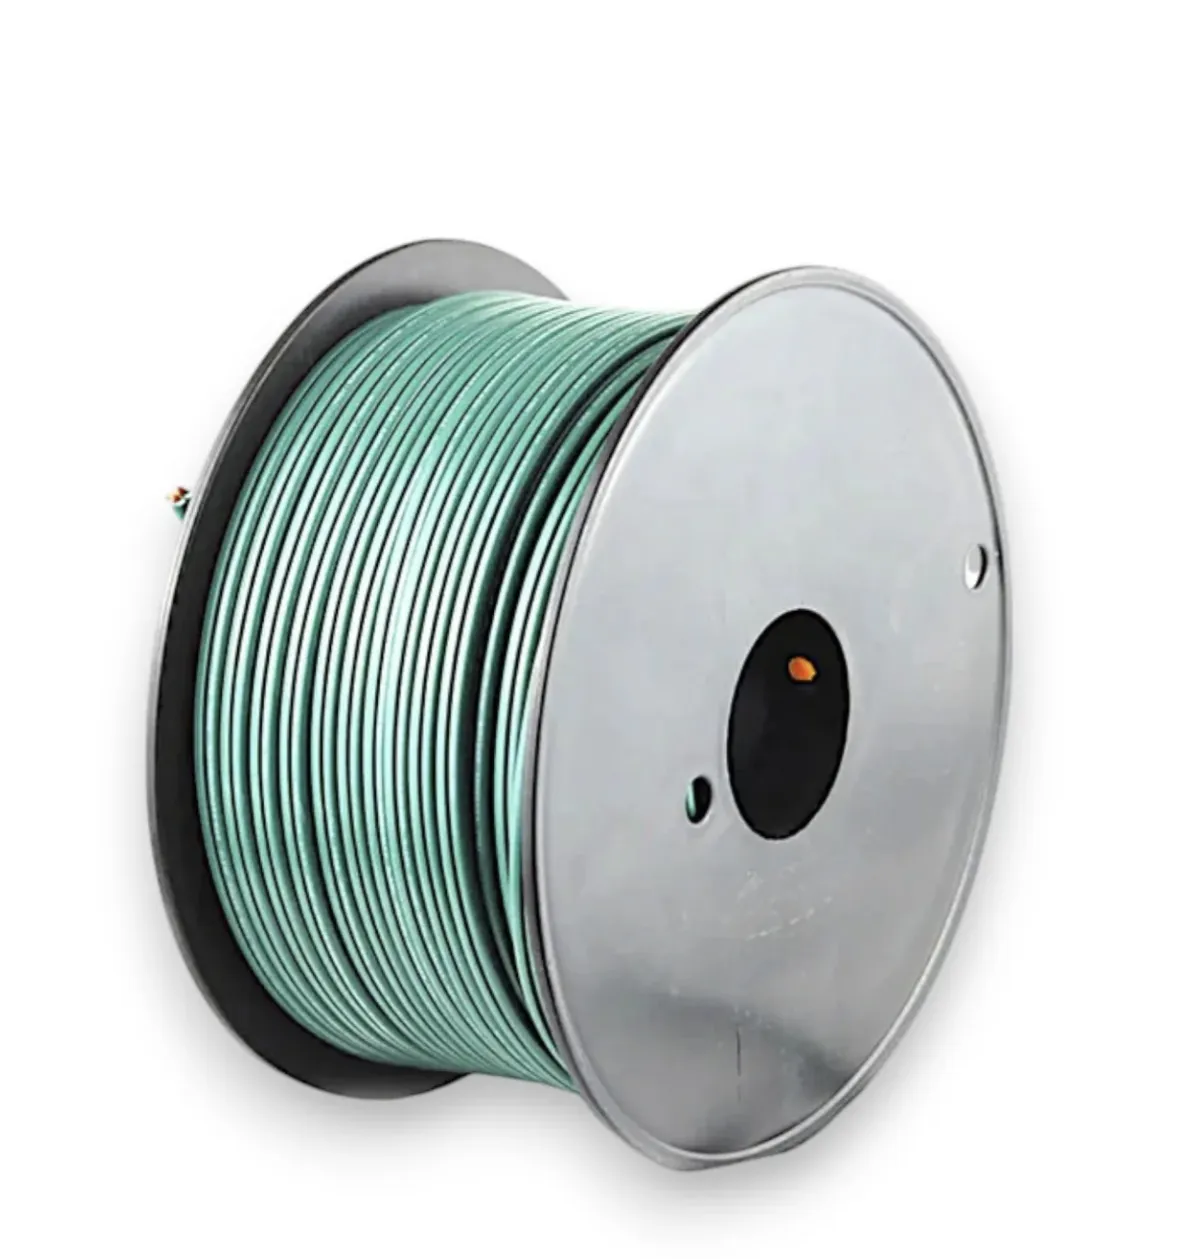
Take full control of your lighting installations with our Spools of Lamp Cord SPT-1 Extension Wire (Zip Cord). Ideal for professional and DIY decorators alike, this versatile extension wire allows you to create custom extension cords, add jumper wires, or extend your C9 or C7 stringers with ease. Whether you’re enhancing rooflines or adding length to your holiday displays, this spool provides the flexibility and durability needed for both indoor and outdoor applications.
Key Features:
250' - 1000' of SPT-1 Extension Wire: A full spool gives you ample wire to customize your lighting installations, ensuring you have the exact length you need for any project.
Zip Cord Design: The 18-gauge, 2-conductor wire is easy to work with and perfect for creating custom extension cords or adding extension leads and jumper wires to your lighting setup.
8 Amps/960 Watts Rating: The SPT-1 wire is rated for 8 amps or 960 watts, providing reliable performance for both small and large-scale installations.
Indoor and Outdoor Use: Designed to withstand various conditions, this wire is suitable for both indoor and outdoor use, making it a versatile addition to your lighting toolkit.
Perfect for C9 or C7 Stringers: Use this extension wire with our spools of SPT-1 male and female plugs to customize your C9 or C7 light stringers, ensuring a seamless and professional-looking display.
Frequently Asked Questions
What lengths are available for the Christmas lights wire spools?
The wire spools are available in customizable lengths of up to 1000 feet, ensuring you have enough wire for any size installation.
What spacing options are offered for the sockets?
The spacing options include 12", 15", 18", 24", and 36", allowing you to tailor your lighting design to specific project needs.
What colors are the wires available in?
The wire is available in Green, White, Brown, and Black, offering flexibility to match your design and installation requirements.
Are these wires compatible with both C9 and C7 bulbs?
Yes, the wires are compatible with both C9 and C7 bulbs, making them versatile for various holiday lighting setups.
What makes these sockets durable for outdoor use?
The professional-grade sockets feature UV protection and weep holes to prevent moisture buildup, ensuring reliable performance in outdoor conditions.
Are the wires safe for outdoor installations?
Absolutely! The wires come with SPT-1 insulation and a 5 Amp capacity, ensuring safe and reliable operation for both indoor and outdoor use.4o
Discover Expert Tips on Our Blog

Increase Your Site’s Ranking Google Search Console Setup
In today's digital landscape, having a website is just the first step. To truly make your mark online, you need to ensure that your website is discoverable by search engines, particularly Google. This is where Google Search Console comes into play – a powerful tool that can help you optimize your website's visibility and performance in search results.
What is Google Search Console?
Google Search Console is a free service offered by Google that helps website owners monitor, maintain, and troubleshoot their site's presence in Google Search results. It provides valuable insights into how Google views your site and allows you to identify and fix issues that might be preventing your site from reaching its full potential in search rankings.
Why is Google Search Console Important?
Before we dive into the setup process, let's understand why Google Search Console is crucial for your website:
1. Improved Visibility: It helps Google discover and index your website's content, increasing your chances of appearing in relevant search results.
2. Performance Insights: You can track your website's performance in Google Search, including click-through rates, impressions, and average position.
3. Issue Detection: It alerts you to any crawl errors, security issues, or manual actions that might be affecting your site's performance.
4. Content Optimization: By showing you which queries lead users to your site, you can optimize your content to better match user intent.
5. Mobile Usability: It provides insights into how well your site performs on mobile devices, an increasingly important factor in search rankings.
Now that we understand its importance, let's walk through the process of setting up Google Search Console for your website.

Setting Up Google Search Console
Step 1: Access Google Search Console
To get started, navigate to Google Search Console (https://search.google.com/search-console). You'll need a Google account to use this service, so make sure you're signed in or create a new account if necessary.
Step 2: Add Your Property
Once you're in the Google Search Console dashboard, you'll need to add your website as a property. There are two ways to do this:
1. Domain Property: This covers all subdomains and protocols (http, https, www, non-www) under a single property.
2. URL Prefix Property: This is more specific and covers only the exact URL you enter and any pages under that specific URL path.
For most websites, the Domain Property option is recommended as it provides a more comprehensive view of your entire domain.
Step 3: Verify Ownership
After adding your property, you need to verify that you own the website. Google provides several verification methods:
1. DNS Verification: This involves adding a TXT record to your domain's DNS settings.
2. HTML File Upload: Upload an HTML file to your website's root directory.
3. HTML Tag: Add a meta tag to your website's home page.
4. Google Analytics: If you already have Google Analytics set up, you can use this for verification.
5. Google Tag Manager: If you use Google Tag Manager, this can also be used for verification.
For this guide, we'll focus on the DNS verification method, as it's often the most straightforward for domain-level properties.
Step 4: DNS Verification Process
1. In Google Search Console, select the DNS verification method.
2. You'll be provided with a TXT record. Copy this record.
3. Log into your domain registrar's website (e.g., Namecheap, GoDaddy, etc.).
4. Navigate to your domain's DNS settings.
5. Add a new TXT record:
- Set the Host field to "@" (without quotes).
- Paste the TXT record you copied from Google Search Console into the Value field.
6. Save your changes.
Step 5: Complete Verification
After adding the TXT record, return to Google Search Console and click "Verify." Keep in mind that DNS changes can take some time to propagate, so you might need to wait a few hours or even up to 72 hours in some cases.
If verification is successful, you'll see a confirmation message, and you'll now have access to your property's data in Google Search Console.

Using Google Search Console
Now that you've set up Google Search Console, let's explore some of its key features and how to use them effectively.
Performance Report
The Performance report provides insights into how your site performs in Google Search results. You can see:
- Total clicks
- Total impressions
- Average click-through rate (CTR)
- Average position
You can filter this data by queries, pages, countries, devices, and more. This information is invaluable for understanding what content is performing well and where you might need to focus your optimization efforts.
URL Inspection Tool
The URL Inspection tool allows you to check the index status of any URL on your site. You can:
- See if a specific page is indexed
- Request indexing for a new or updated page
- View how Google sees the page
- Check for any issues that might prevent the page from being indexed
Coverage Report
The Coverage report shows you which pages on your site are indexed and which ones have issues. It's divided into four categories:
1. Error: Pages that couldn't be indexed
2. Valid with warnings: Indexed pages with potential issues
3. Valid: Successfully indexed pages
4. Excluded: Pages intentionally not indexed
This report helps you identify and fix issues that might be preventing your pages from appearing in search results.
Sitemaps
Sitemaps help search engines understand the structure of your website and find all your important pages. In Google Search Console, you can:
- Submit your sitemap
- Check for any errors in your sitemap
- See how many of your submitted URLs have been indexed
To submit your sitemap:
1. Go to the Sitemaps section in Google Search Console.
2. Enter the URL of your sitemap (usually yourwebsite.com/sitemap.xml).
3. Click "Submit."
Mobile Usability
With mobile searches accounting for a significant portion of web traffic, ensuring your site is mobile-friendly is crucial. The Mobile Usability report shows you any issues with your site's mobile version, such as:
- Text too small to read
- Clickable elements too close together
- Content wider than screen
Fixing these issues can improve your site's performance on mobile devices and potentially boost your search rankings.

Best Practices for Using Google Search Console
To get the most out of Google Search Console, consider these best practices:
1. Regular Monitoring: Check your Google Search Console data regularly to catch and address issues quickly.
2. Act on Insights: Use the performance data to inform your content strategy. If certain pages or queries are performing well, consider creating more similar content.
3. Fix Errors Promptly: Address any errors or warnings in the Coverage report as soon as possible to ensure all your important pages are being indexed.
4. Keep Your Sitemap Updated: Whenever you add new pages or make significant changes to your site structure, update and resubmit your sitemap.
5. Leverage the URL Inspection Tool: Use this tool to diagnose issues with specific pages and to request indexing for new or updated content.
6. Monitor Security Issues: Google Search Console will alert you to any security issues it detects on your site. Address these immediately to protect your site and its visitors.
7. Use the Links Report: This report shows you which sites are linking to yours and what pages on your site have the most internal and external links. Use this information to improve your internal linking strategy and to identify potential link-building opportunities.
8. Experiment with Structured Data: Use the Rich Results Test to see how your structured data is performing and to identify opportunities for enhancing your search listings with rich results.

For further reading on SEO for your business, check out our blog post: Shining Bright Online: SEO Essentials for Christmas Light Professionals (christmaslights.io)
Setting up and effectively using Google Search Console is a crucial step in improving your website's visibility and performance in search results. By regularly monitoring your site's performance, addressing issues promptly, and leveraging the insights provided, you can make data-driven decisions to optimize your content and improve your search rankings.
Remember, SEO is an ongoing process, and Google Search Console is just one tool in your arsenal. Combine the insights from Google Search Console with other SEO best practices, high-quality content creation, and a great user experience to build a strong online presence for your business.
By following the steps and best practices outlined in this guide, you're well on your way to mastering Google Search Console and taking your website's search performance to the next level. Happy optimizing!

1. Q: What is Google Search Console?
A: Google Search Console is a free service offered by Google that helps website owners monitor, maintain, and troubleshoot their site's presence in Google Search results. It provides valuable insights into how Google views your site and allows you to identify and fix issues that might be affecting your search rankings.
2. Q: Do I need a Google account to use Google Search Console?
A: Yes, you need a Google account to access and use Google Search Console. If you don't have one, you'll need to create a Google account before you can set up Search Console for your website.
3. Q: What's the difference between a Domain Property and a URL Prefix Property in Google Search Console?
A: A Domain Property covers all subdomains and protocols (http, https, www, non-www) under a single property, providing a comprehensive view of your entire domain. A URL Prefix Property is more specific and covers only the exact URL you enter and any pages under that specific URL path.
4. Q: How do I verify ownership of my website in Google Search Console?
A: There are several methods to verify ownership, including DNS verification (adding a TXT record to your domain's DNS settings), HTML file upload, HTML tag addition, Google Analytics, and Google Tag Manager. The DNS verification method is often recommended for domain-level properties.
5. Q: How long does it take for Google Search Console to show data after setup?
A: It can take some time for Google Search Console to start showing data after initial setup. While some data may appear within a few days, it can take up to a few weeks for comprehensive data to be available, especially for new websites.
6. Q: What is the Performance Report in Google Search Console?
A: The Performance Report provides insights into how your site performs in Google Search results. It shows total clicks, total impressions, average click-through rate (CTR), and average position. You can filter this data by queries, pages, countries, devices, and more.
7. Q: How can I use Google Search Console to improve my website's SEO?
A: You can use Google Search Console to improve SEO by monitoring your site's performance, identifying and fixing indexing issues, submitting and monitoring sitemaps, checking mobile usability, and leveraging insights from the Performance Report to optimize your content and target relevant keywords.
8. Q: What should I do if Google Search Console shows errors on my website?
A: If Google Search Console shows errors, you should investigate and address them promptly. Use the Coverage Report to identify specific issues, then use the URL Inspection tool to diagnose problems with individual pages. Fix the errors on your website and request re-indexing of the affected pages.
9. Q: How often should I check Google Search Console?
A: It's recommended to check Google Search Console regularly, at least once a week. This allows you to stay on top of any issues, monitor your site's performance, and quickly address any problems that may arise.
10. Q: Can Google Search Console help me understand which keywords are driving traffic to my site?
A: Yes, the Performance Report in Google Search Console shows you which queries are leading users to your site. This information can help you understand which keywords are effective for your site and identify new opportunities for content optimization and creation.
Copyright ©2024 All Right Reserved website designed by christmaslights.io
Terms of Service / Privacy Policy
Have questions or need assistance?
Contact us at (855)619-LITE


